Sunday, May 31, 2009

Welcome to the World Jacob!

I have a brand spanking new nephew! His name is Jacob and he and his mom (my sister) are doing great. I got a chance to take some photos of him this morning at the hospital. I didn't want to use flash, because Jacob's eyes are still sensitive. To make up for the lack of a flash, I chose to use long exposure times over setting my camera to a high ISO, because I didn't want to see a lot of grain in my photos. I also set my shutter mode to high speed continuous release, used window light whenever possible, and steadied myself on anything stable. Exposure: 52.5mm focal length, 1/20 sec, f/5.6, ISO 200, 10:00am. Post-processing in Lightroom: Cropped, increased fill light, reduced color temperature. To avoid camera shake, I never set the exposure time longer than 1/50th sec when handholding my camera, because my lens has an effective focal length of 52.5mm. When I wanted to increase my exposure time to around 1/20th sec, I put my camera on a tripod and used the tripod like a monopod. By supporting my camera in this way, I reduced a lot of camera shake.
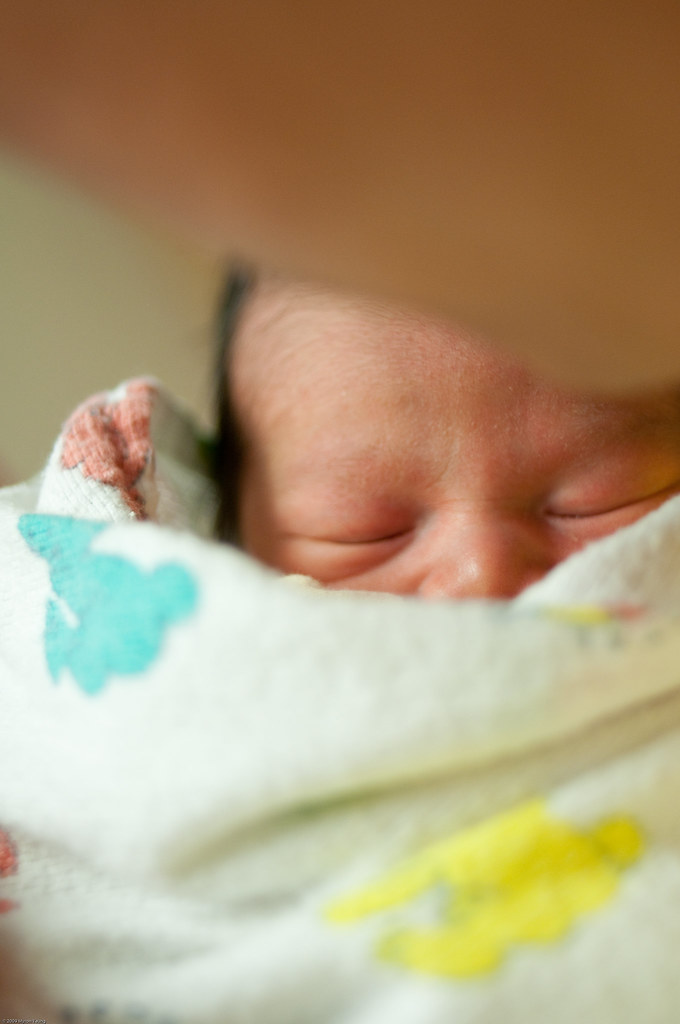
Exposure: 52.5mm focal length, 1/320 sec, f/2, ISO 400, 10:27am. Post-processing in Lightroom: Increased exposure and fill light, reduced color temperature.
I took many rapid fire bursts hoping that the middle shots in each sequence exhibited less blur, due to them not being affected by the movement of pressing and letting go of the shutter release. The only drawback was the loud sound made by the shutter and mirror moving with each shot. It may have bothered Jacob, although he never appeared to be irritated by it. I also took advantage of the light streaming through the large window. My sister's bed was on the far side of the room, so very little sunlight reached her. But whenever someone held Jacob near the window, I had a lot more light to work with.
Lastly, I braced myself on whatever and whoever was near me. My brother's shoulder made a great platform to shoot from! You can see all the photos from our happy day here.
Saturday, May 30, 2009

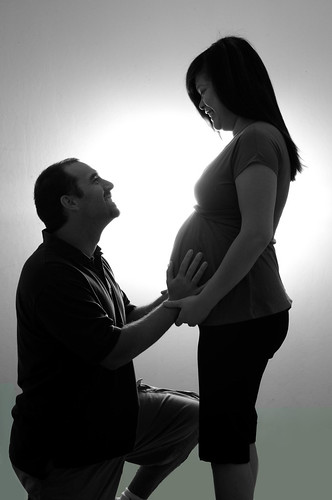
Almost An Uncle

My sister is hours away from giving birth to the first child in my family. It's an exciting time and the perfect time to talk about an image I took of her and her husband last month. It's a very simple photo that I copied from an image taken of one of Amy's friends. The lighting setup was easy: one flash behind my sister to light the wall. Even though the hallway where I shot them was fairly dark, I did not need to light them with another flash, because their faces were supposed to be underexposed. The reflection of the background light off of the wall provided just enough light to bring out a little bit of detail in their faces. The setup and shooting only took five minutes, but retouching the bottom quarter of the wall in Photoshop took a lot longer. I had to remove parts of the lightstand, remove the floor moulding, and with a lot of difficulty: even out the shadows. You can see the color version here.

Friday, May 29, 2009

Bring Your Own Big Wheel Race 2009

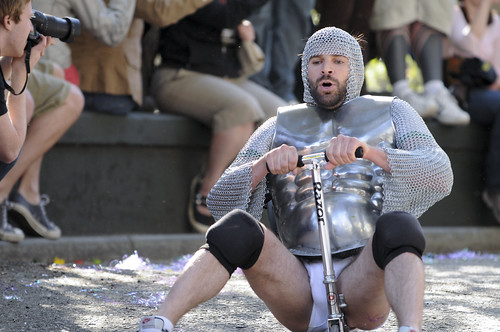
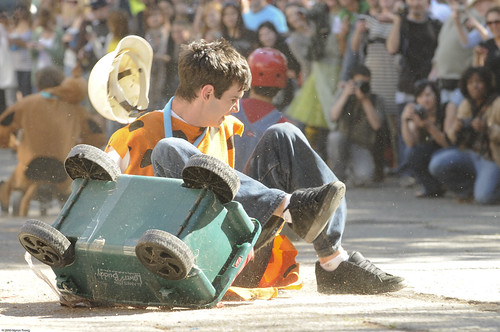
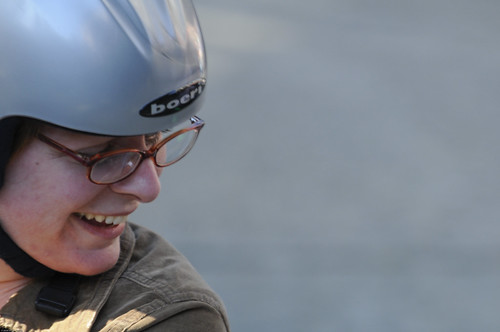
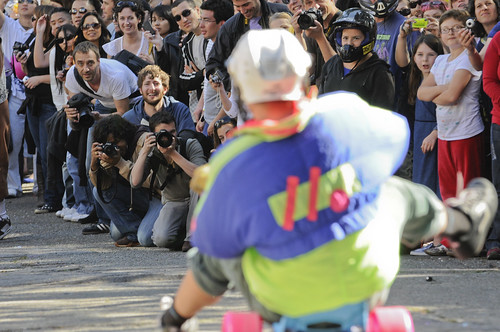
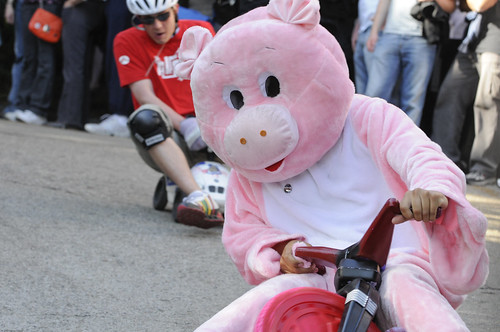
San Francisco is pure photo gold! There's always crazy stuff going on. Last month the Potrero Hill neighborhood hosted the Bring Your Own Big Wheel Race. It's exactly as it sounds: people race big wheels (and other things like recycling bins) down a steep and windy hill while mobs of fans cheer them on. It is a sight to see...and photograph! There were some crazy characters: I had fun playing with panning: Once in awhile I caught racers losing control: Focusing/compositional mistakes created interesting shots: Lastly, I wasn't the only photographer out there! I had a great time and will definitely go back next year. You can see all my photos here.

Faking Rihanna

Have you seen the cool album cover of Rihanna's Good Girl Gone Bad: Reloaded? On a lazy Saturday last month, I created a version of it with Amy. Though they look nothing alike and Amy doesn't own a white dress, I saw potential for some photographic fun! My first problem was how to recreate the extreme body lean. The solution was simple, although the implementation was not: ask Amy to lean against the wall (easy) and use Photoshop to remove the wall propping her up (hard). In Photoshop, I had to give Amy a haircut and redraw her body a bit. :-) The second problem involved lighting. Because I wanted the light to wrap around her and gradually end in shadow, I needed large directional lighting (I used a flash shot through an umbrella). Unfortunately the light bounced off the wall and lit the far side of Amy's body and arms. This was not good, because these parts of her had to remain dark to match Rihanna's photo. The key was to gaffer tape the black cover of my reflector to the wall and have Amy lean against it. This served to "eat up" all the light on the far side of Amy and therefore leave that part of her in shadows. The other problems involved replacing the wall behind Amy with a blueish green background and adding the shadow behind her. This shadow actually took a lot of time for me to create in Photoshop, because I'm not very adept at creating gradients. I love trying to reproduce other people's images, because it forces me to stretch my abilities. The shadow behind Amy alone took me at least an hour! Check out the set on Flickr and see me impersonating Rihanna too!

Thursday, May 28, 2009

What Can You Do With A Tripod And Tablecloth?

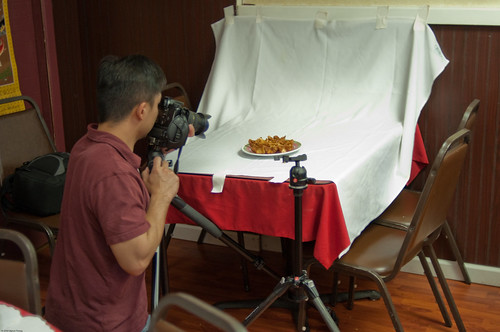
Answer: create lovely portraits of Chinese food at Brian's restaurant! No flash was employed, so Brian and I used tripods to slow down our shutter speeds in order to gather enough light to properly expose the food. The tablecloth was gaffer taped to the wall and table. Note the "seamless" junction between the wall and table. We could have used an iron though! See the rest of the photos here.

Got Lazy

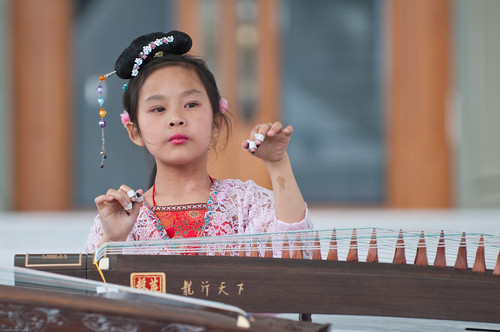
No, I'm not referring to the fact that it's been 25 days since I last blogged! Although that would be accurate as well. I'm actually referring to the Sing Tao Street and Art Fair in Redwood City I attended with my buddy Brian. It had been a long week of shooting for me, so I just plopped myself down on the ground 20 feet in front of the stage, looked over at Brian and said "I'm tired dude, I'm not moving from this spot." I usually run around, looking high and looking low to get the "perfect" shot. It was really refreshing to just sit down and not move while the different acts performed. If you've met me you know I can't sit still, so a half hour or so into the show, I did actually get up and moved behind the stage. But then I plopped myself down again and didn't move for awhile. :-) I don't really have a point to make, except that once in awhile it's refreshing to be lazy! Go here to see the rest of the photos from this event.

Sunday, May 3, 2009

Evaluating The Breakdancing Shoot

A couple of days ago, I blogged about jotting down some crib notes on my hand before heading out to a breakdancing shoot. Did the crib notes help? I think so. The photos didn't turn out as well as I had hoped, but being able to glance down at the notes on my hand from time to time definitely improved my shots. Here's my analysis:
Hand:Comments:
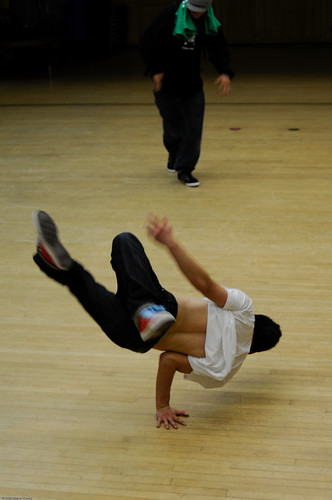
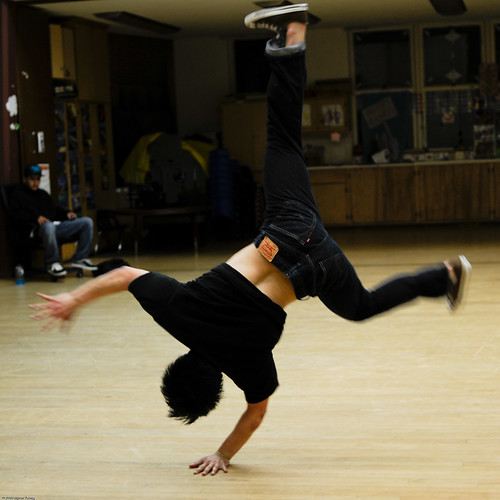
Bird's eyeBird's eye was tough, because I didn't have a ladder and there wasn't a balcony for me to shoot from. However, I was able to shoot down from the stage onto the spinning dancers. Because their bodies were close to the ground, it exaggerated the bird's eye effect. An added benefit was that shooting bird's eye helped to remove a lot of the background clutter.
Worm's eyeThis was easier: I just laid on my side and shot close to the floor. One thing I had to be mindful of was giving the guys enough space to practice their moves. It was a small gym, but there were always 3-4 guys practicing at the same time. Similar to bird's eye, getting down to a worm's perspective helped unclutter the background.
360This was also easy, because the room was small. I just reminded myself to keep looking over my shoulder to see what was happening behind me. This guy was very quick, so I was lucky that I turned around in time to catch a few frames of him.
SilhouettesI ended up not taking silhouettes of the guys because the lighting was fairly even throughout the gym, so when I underexposed someone, the entire background would go dark as well. Thinking back, the far side of the gym was dark, so I could have shot out from that side and maybe created some silhouette images. I'll try it next time.
Off-camera flash (very high spotlight)I tried using my flash as a spotlight, but I didn't execute it well. I had a difficult time aiming it at the dancers. Furthermore, I think the direct flash distracted them, so I gave up after a few frames. If I go back there a couple more times and strike up a rapport with them, I may haul out a lightstand, mount a bare flash (zoomed to around 105mm), and ask them to try to stay within the spread of the flash.
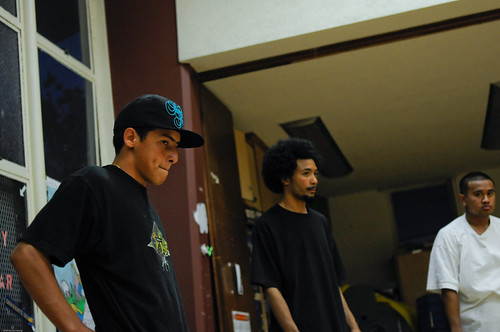
Get emotions of dancers and crowdThere were no crowds this time around, only a small group of seasoned veterans, so I didn't see a lot of "ooooo's and ahhhhh's". Also, I found it difficult to get sharp shots of people's faces. The closest I got was this shot of three guys studying the routine of a fourth dancer.
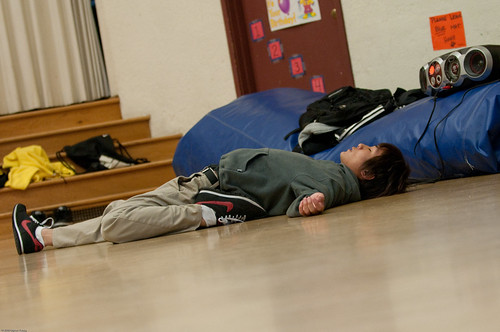
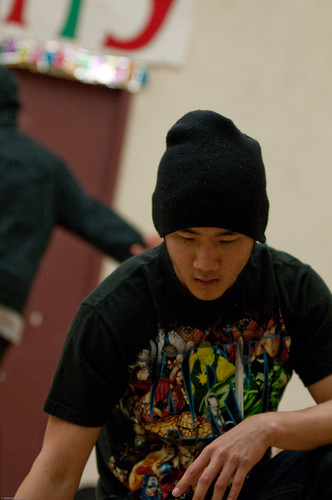
Quiet momentsWhen taking primarily action shots, it's always nice to capture some quiet moments to help add variety to your collection.
Watch ISO, watch shutter - camera shake!Monitoring both settings was fairly simple. I just kept the ISO at 800 and the shutter speed around 1/100 sec. At times I slowed the shutter speed down to capture more blur. I would have liked to increase the shutter speed to better freeze the action, but it was so dark in there that I had to keep it around 1/100 sec the entire time. I don't see evidence of camera shake on my small laptop at home, but when I get into work, I'll examine the photos more closely.
Focus off-centerI wrote this down because I wanted to add some tension in my photos. When your subject is dead center it tends to create a static and boring image. But I broke this rule almost immediately! When I tried to focus off-center, the guys would literally fly out of the frame! My widest lens had an effective focal length of 52.5mm (not very wide), so I had to keep the central line of my subjects close to the middle in order to reduce cutting off their legs and arms. I also had to back up a bit. I was going to cheat and create off-center compositions by cropping it during post-processing, but I found that the shapes the dancers created with their bodies were so kinetic and compelling that it didn't matter if they were in the middle of the image.
Get in-your-face shotsI'm glad I wrote this down, because had I not, I would have forgotten to do this. I'm usually good about getting close to my subjects, but for this shoot, I tried to keep some distance between me and the dancers. I did this mainly for two reasons: 1. I had to move back, so that my lens could capture their entire body. 2. I wanted to get out of their way, so that they could practice without fear of kicking me. I'm happy that I was able to squeeze off a few frames up close without getting kicked in the head!
I'm not saying that everyone should write notes on their hand, but I think that every photographer has areas where they can improve, bad habits that they need to watch out for, or simple things that can add variety to their photos. If you don't want to mark up your hands, find other quick and easy ways to keep you on your toes! Lastly, and this is slightly off-topic, but besides having crib notes, what also helped was bouncing ideas off of another photographer. Basile made some observations that helped make the the experience better for everyone. More on that later!

Friday, May 1, 2009

Crib Notes For Breakdancing Shoot

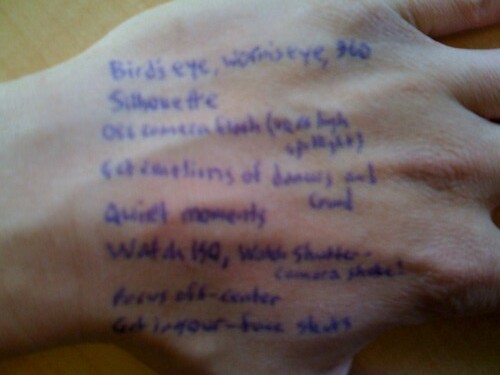
Before going out with my friend Basile yesterday on a breakdancing shoot, I wrote some notes on my hand. On past shoots, I often wrote notes down on paper...then promptly forgot about them. This time, I wanted to ensure that my notes were "close at hand". There are lots of reasons why I write notes to myself:
  • To avoid common mistakes such as not minding my ISO or not watching my exposure time which could cause camera shake.
  • Provide shot ideas to help me create interesting images.
Here's what I wrote on my hand this time:
  • Bird's eye, worm's eye, 360: this is something I learned from watching a documentary about National Geographic photographer Joel Sartore called At Close Range.
  • Silhouette: I expected the gym to be very dark. If I couldn't properly expose the subjects, then I'd resort to shooting some "artsy" silhouettes.
  • Off-camera flash (very high spotlight). A tight beam of light would help light and isolate the subject from everyone else.
  • Get emotions of dancers and crowd.
  • Quiet moments.
  • Watch ISO, watch shutter - camera shake!
  • Focus off-center.
  • Get in-your-face shots.
So did the notes help? Did I even look at them during the shoot? Find out after I post my photos from the shoot!