Friday, August 6, 2010

Email-To-Blog Test

One of the many excuses I have for not blogging as often as I'd like is that I'm not always in front of my computer. So to get rid of one more lame excuse, I'm testing out Blogger's post-by-email feature. Some questions I have: With apparently no control of the HTML how will my post look? How do i display things like numbered lists? How will the images be laid out? Can I add links? How long does it take to update my blog? These are just a few of the questions swimming in my head. Only one way to learn and that is to just do it! Picture of my charging area in my hotel room (see previous post). Editor's note: Looks like I'll need to set up some general styling rules to take care of the huge text above (after I make these changes, everything will look normal). The blog updated instantaneously! It appears that photos appear at the top of the post.

Hotel Base Camp Tips

Last weekend I had the pleasure of shooting Joni and Matt's lovely wedding in Hanford, California. I'm going to have a lot more to say about that after I've delivered the photos to them. Until then, I want to take a moment to talk about how you can keep your equipment and data safe in your hotel room. Let me first say, the hotel staff was very nice and professional, and all the guests seemed to be decent people, but it's always better to be safe than sorry. The most important thing is to not look like a photographer. Travel stealthily and you reduce the chance of being the target of thieves. Don't be flashy: keep your gear in plain looking bags, so you can fly under the radar. My most valuable gear (cameras, lenses, flashes, laptop, etc.) stayed with me at all times. My less valuable (and less temperature-sensitive) equipment stayed in the trunk of my car. This gear consisted of light stands, sand bags, and other pieces of grip that was not absolutely vital to the shoot. Carting them from the car into the room everyday would have drawn too much attention. Always hang the "Do not disturb" sign on your door. This makes it seem like you're inside even when you're not. This also prevents housekeeping from coming into your room to do the daily cleaning. I'm not saying that housekeeping is untrustworthy, but usually they keep the door ajar while they clean your room. This creates an opportunity for potential thieves to come inside. Side benefit: since I knew that I wasn't going to have someone clean my room everyday, it forced me to think more green and use my towels more sparingly :-) Keep the lights on when you're away. This goes against my green philosophy, but if anyone passes by the door or windows, you want them to think that you're inside. If you're on or near the ground floor, keep the windows closed, so that no one outside can see your equipment. If you're shooting on multiple days, make sure that your image files are in at least two locations. For me, I always had a copy on my laptop and another one on my external drive. When I went out to the shoots, I kept the external drive with me and left the laptop in the hotel room (hidden inside my little backpack, which was placed inside a dresser drawer). If you can afford it (which I cannot right now), buy enough flash cards for the entire assignment. In this way, you can be confident that if both hard drives crash, you still have the cards. Lastly, I apologize for the quality of the photos above. I don't like blaming my failures on gear, but this time it's unavoidable: my new Droid X sucks sucks sucks! Don't let the 720p camera fool you (like it did me), the lens itself is horrible! I miss my first generation iPhone :-(

Wednesday, March 31, 2010

Multi-Camera Fun with Jakey

Jakey is a lot bigger now and is starting to crawl, but when he was younger, he would just lay there looking cute. I took advantage of the little slug by first taking a picture with my phone. Then I put the phone on his belly. Then I took a second photo with my DSLR. He must have been in a good mood, because he didn't fight it. He just laid still while I fussed around him. What a great kid!

Chicago!

I am very behind on my posts, but instead of ignoring my older photos and moving straight to the new stuff, I'm going to try to catch up. I learn from every set of photos I create, so I have to stay the course and slog through it all! :-) Back in September, I went to Chicago with some good friends. Our ultimate goal was to dine at the incomparable Alinea. But before that amazing dinner, I had a chance to roam the city for the first time. 
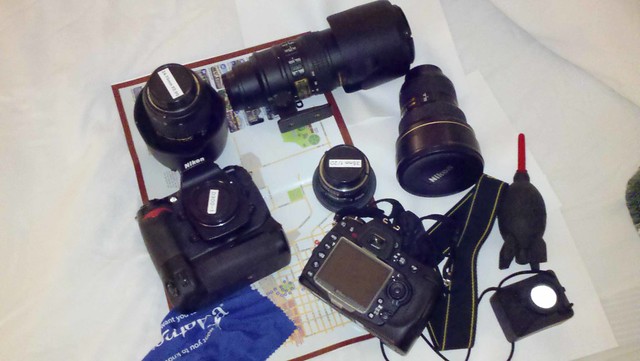
I took lots of pictures, but I learned that carrying around a DLSR and two lenses is not very fun. I'm now in the market for a point-and-shoot camera for when I'm doing lots of walking. The quality isn't as good as a full-fledged DLSR, but I'll be more likely to carry it around with me. 
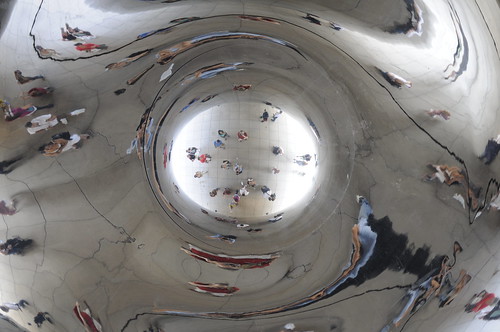
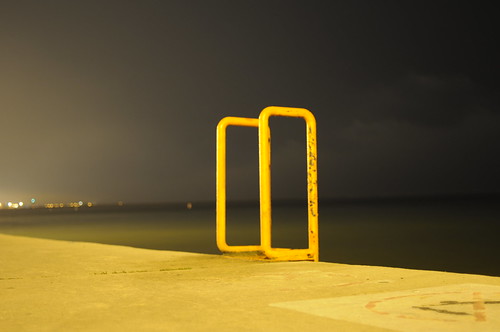
Another thing I learned is that there is no way to shoot the amazing "Bean" in Chicago without being in the photo (see above). I learned that it is hard to a handhold a camera steady for two seconds. 
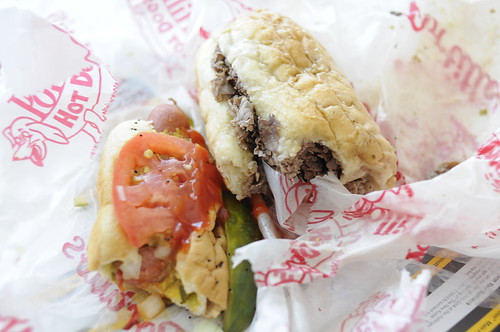
I learned that Chicago makes the best french dip sandwiches. 
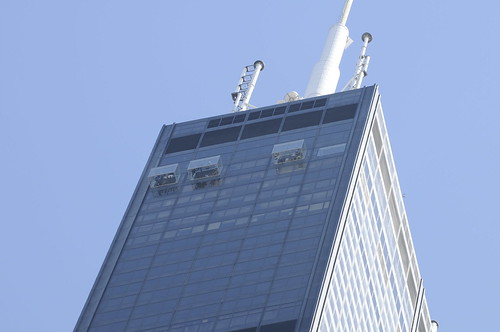
I learned just how much amazing detail a 200mm (300mm on my cropped sensor) lens paired with a 12 megapixel DSLR can capture. I was on a boat floating by the Sears Tower when I shot people standing on its glass ledges. Go ahead and view the original image and zoom in. Wow. 
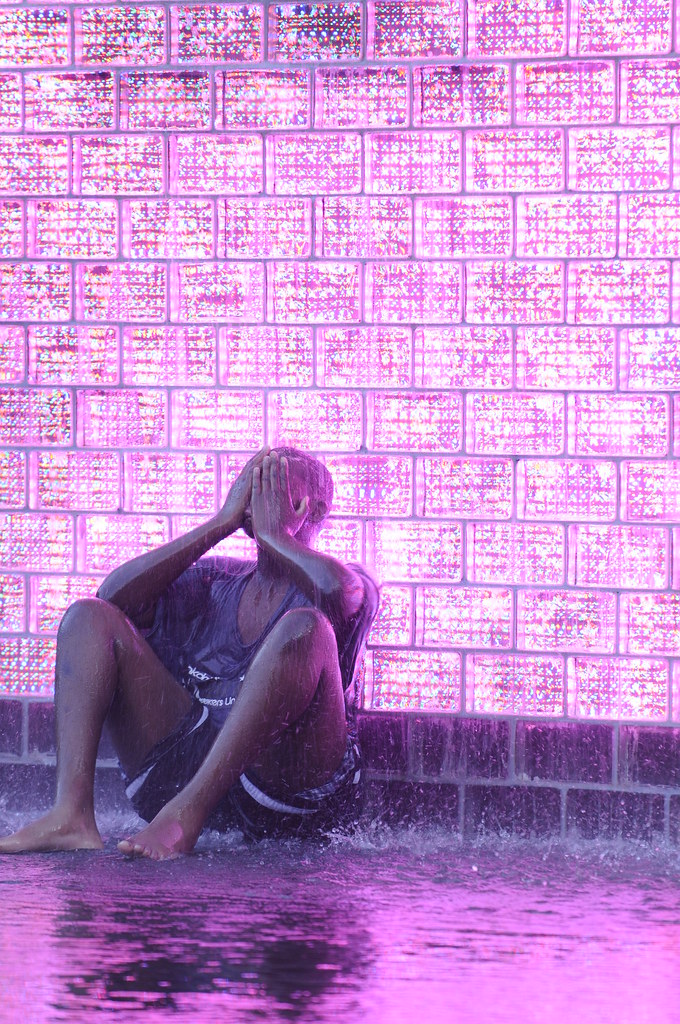
This is my favorite photo from the trip. The color is amazing. I love the way the water runs down the wall and into the pool. And since the kid's face is obscured, I don't have to get a model release form! :-) I only wish that I didn't cut off his right foot. 
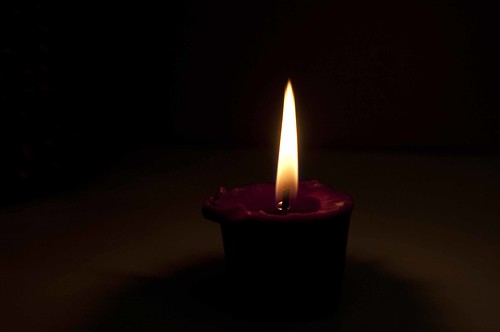
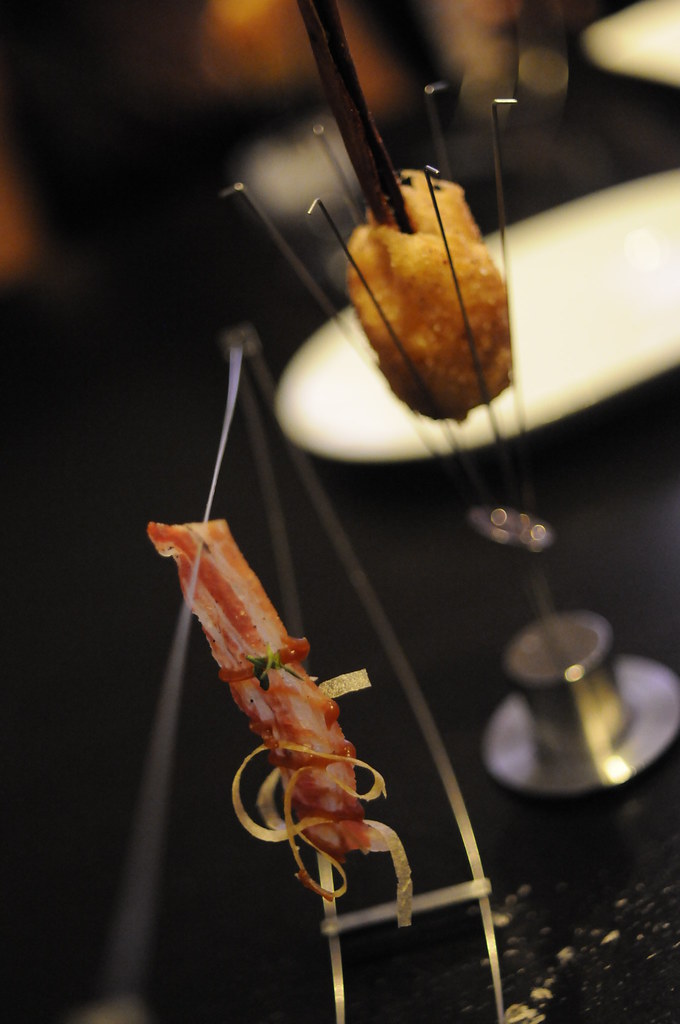
And then there was Alinea. Ahhhh, best meal of my life. But this isn't a food blog, so let me talk briefly about the shots. Because flash was not allowed, and the room lighting was dim, I had to rely on high ISO, wide open aperture, and a relatively slow shutter speed. The autofocus was also having difficulty acquiring focus, so I manually focused most of my shots. For the food shots, this was okay. I just got real close to the food and took a series of shots while tweaking the focus minutely. I figured that one of the shots would be in focus! My people shots were out of focus and just plain bad. But I got a shot of my hero Grant Achatz serving us dessert! Lastly, I want to thank Swarup, Shraddha, and Basile for the best vacation I've had in a long while! Wait, one more thing I learned. I spent an extended weekend with these guys, and the only group shot I got was this lousy one in the elevator?!! If you'd like to see the complete set, please go here.

Saturday, January 16, 2010

Playing With Fire

Kids, don't try this at home! This is my first submission to Shootmaster Challenge 2: Night Light. I missed the deadline for the first challenge, so I was determined to enter something immediately. I wanted an orange glow around my face, neck, and fingers. Since this was a self-portrait and I was alone, it would have been too dangerous to ignite a large fireball and suspend it near me. Instead, I gaffer taped a candle in my hand. Even this "harmless" little flame burned me a few times! Why not just use a flash and a tungsten gel to emulate the flame? I experimented with that last year, but found that the flash was too powerful even at its lowest setting. I'm not giving up on the flash yet, but I wanted something quick and dirty today and was willing to risk getting singed! To create the fireball, I took a separate shot of the candle. Then in Photoshop I smudged it outwards to make the tall flame look more like a ball. Lastly, I composited the two together and voila! I don't like the way the fireball looks. It looks like a scoop of orange ice cream. I'm considering creating an actual fireball with wadded up paper/cloth and some lighter fluid. Stay tuned. :-)

Much More Photoshop To Learn

My girlfriend Sherrie challenged my friends and me to create compelling images of food. She gave us over a month, but of course I procrastinated. The image I submitted was very rough, because I couldn't figure out how to clean up the background in Photoshop quickly. I attempted to use the smudge tool, but after an hour, it still didn't look good, as you can see from the photo above. In fact I missed the deadline by one minute. The next day she told me I could have used my time more efficiently by creating masks then stretching pixels (?), adding Gaussian blur, and finally applying Gaussian noise to create a nice clean background where non existed before. I asked her to show me, and she did a "rough cut" in under four minutes!It's not perfect, but in the time it took me to find the smudge tool she created a far superior image, all while explaining her steps and watching Ugly Betty. Plus her computer is much slower than mine! Friends, I have much to learn. For reference, here's the original: