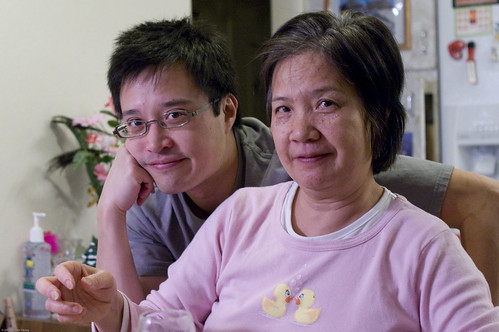
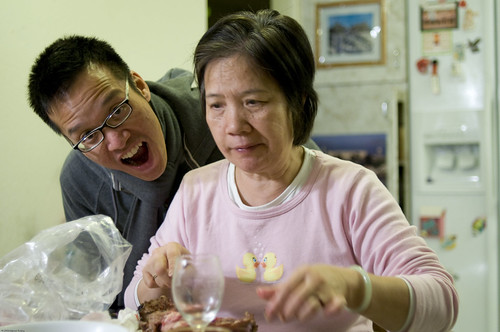
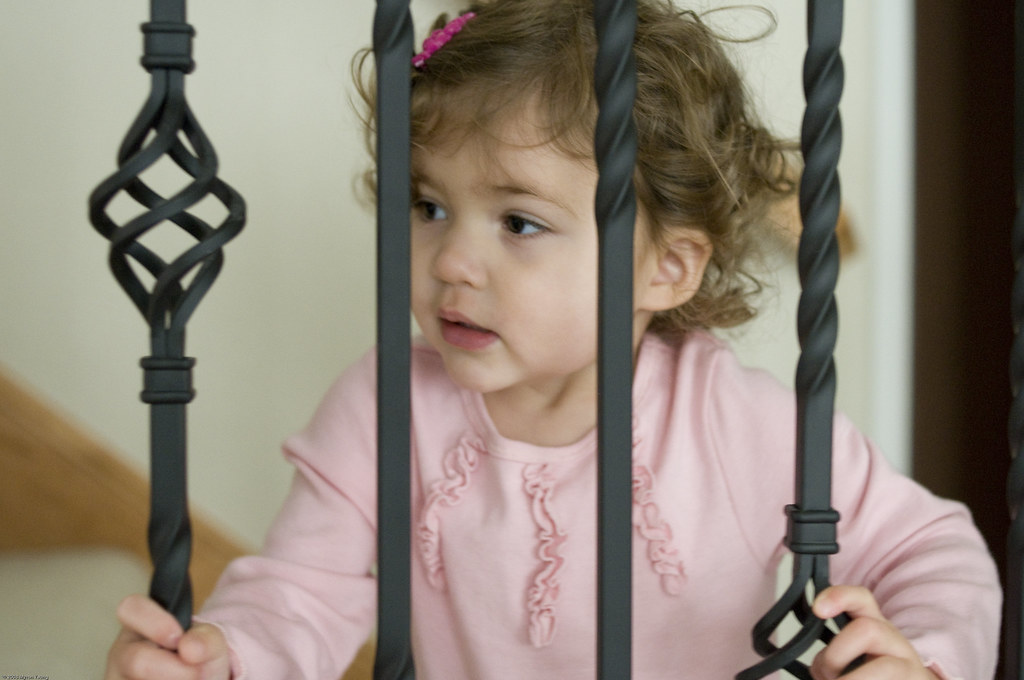
Through the judicious adjustment of the exposure time and aperture, along with an external flash, you can make the sky look as bright or dark as you want. These two shots look completely different, but I assure you they were taken within an hour and a half of each other at the same place. Tomorrow I'll talk about how I did it.
Friday, January 30, 2009
Thursday, January 29, 2009
Funny Adults At Jessica's Party
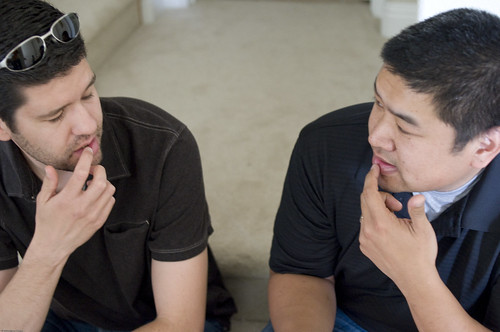 Whenever there's a roomful of kids, there's bound to be a bunch of adults. Jessica's birthday party was no exception. Although I think babies make better subjects than adults, once in awhile, I snap a little gem like the one above. If memory serves me, they were talking about their kids teething.
I'm very happy that I didn't accidentally focus on the carpet between them! Okay, full disclosure: I did focus on the carpet on my initial attempt, but recovered quickly enough to correctly focus on them on my second try. :-)
You can see a few more adults at the party here.
Whenever there's a roomful of kids, there's bound to be a bunch of adults. Jessica's birthday party was no exception. Although I think babies make better subjects than adults, once in awhile, I snap a little gem like the one above. If memory serves me, they were talking about their kids teething.
I'm very happy that I didn't accidentally focus on the carpet between them! Okay, full disclosure: I did focus on the carpet on my initial attempt, but recovered quickly enough to correctly focus on them on my second try. :-)
You can see a few more adults at the party here.More Babies From Jessica's Party
Jessica wasn't the only baby at her birthday party. She had plenty of little friends around her. It doesn't get much easier to get some cool shots when you have tons of children running around!
You can see more photos here.
Jessica's First Birthday Party
 Earlier in the month I went to Jessica's first birthday celebration. She is the daughter of my old manager (and good friend).
I just love taking photos of babies. They're naturals in front of a camera. Point your lens at an adult and you'll usually either get an indifferent look or a canned over-the-top expression.
You can see more photos from the party here.
Earlier in the month I went to Jessica's first birthday celebration. She is the daughter of my old manager (and good friend).
I just love taking photos of babies. They're naturals in front of a camera. Point your lens at an adult and you'll usually either get an indifferent look or a canned over-the-top expression.
You can see more photos from the party here.Oscar Grant Protest
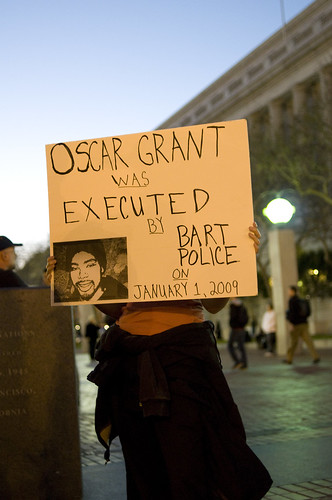
A few weeks ago, I caught wind that there was going to be a protest in San Francisco over the BART Police shooting of Oscar Grant.
After work, I walked over to the rallying point, but found only some cops and a bunch of what I assume were photojournalists.
As I walked around checking out the scene, two guys laid on the ground in protest and the photographers SWARMED! I think I understand the term "media circus" a little better now. It all felt too contrived. As if he read my mind, the guy on the right got up and left with a grin on his face, secure in the knowledge that he'd be on the cover of some publication. Of course, I couldn't resist taking some shots, so maybe I was part of the circus that evening as well!
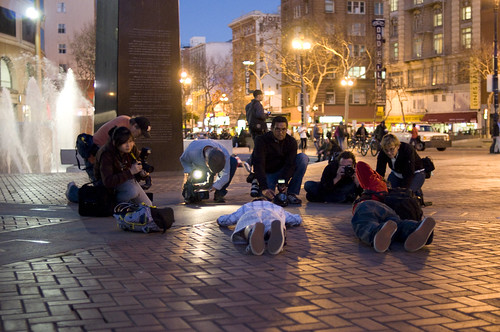 You can see the rest of the photos here.
 You can see the rest of the photos here.
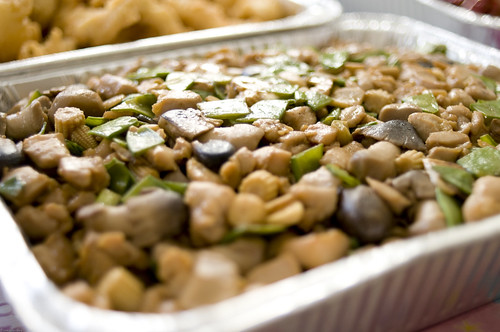
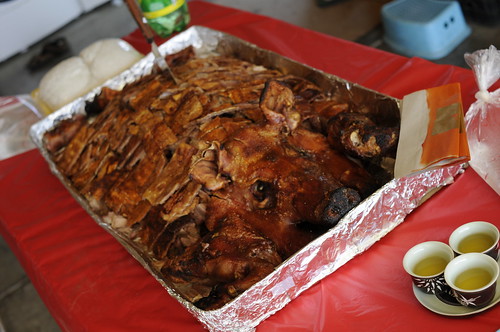
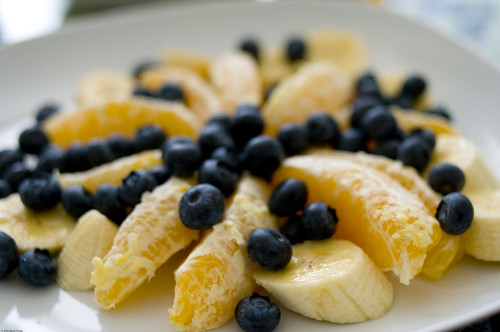
Yummy Food Shots
I love taking photos of food. They sit still and don't mind waiting for me to finish shooting. Then once I'm done, I can eat it!
You can see all my food shots here.
Wednesday, January 28, 2009
Beware The Floating Head
 Amy and I went to Indian Rock in Berkeley to watch the sun set below the Golden Gate Bridge. It was a lovely scene, so I pulled out my camera and flash.
It was very windy and cold, so Amy didn't want to take off her black long sleeve top. Unfortunately, the blackness of the city behind her matched her top, so the only part of Amy that was distinguishable was her head.
Reframing her so that more of the sun shone behind her and asking her to open her top a little to reveal the lighter-colored blouse underneath helped out a lot. I also increased the beam spread of my flash, so that it lit more of her body. Finally as a last resort, I increased the fill light in Lightroom to lighten her top.
 You can see the rest of the photos here.
Inspired By A Bathroom
 I love Melissa Rodwell's Fashion Photography Blog. Her amazing blog gives us a rare peek into the world of fashion photography.
Her first video tutorial featured a model in a tiny bathroom with two windows. A large reflector lit the model, while the windows provided some major backlighting. That's it, no fancy lighting at all! I had to try it out for myself.
My girlfriend Amy's bathroom is very dark, but her living area features a beautiful bay window. I waited for the light to stream in, propped up some DIY reflectors aka poster boards, and asked Amy to look beautiful. While my results don't look as great as Melissa's (no fault of Amy's!), I am amazed at how much potential there is in a simple pair of windows!
See more bay windows here.
Check out Melissa's blog here.
I love Melissa Rodwell's Fashion Photography Blog. Her amazing blog gives us a rare peek into the world of fashion photography.
Her first video tutorial featured a model in a tiny bathroom with two windows. A large reflector lit the model, while the windows provided some major backlighting. That's it, no fancy lighting at all! I had to try it out for myself.
My girlfriend Amy's bathroom is very dark, but her living area features a beautiful bay window. I waited for the light to stream in, propped up some DIY reflectors aka poster boards, and asked Amy to look beautiful. While my results don't look as great as Melissa's (no fault of Amy's!), I am amazed at how much potential there is in a simple pair of windows!
See more bay windows here.
Check out Melissa's blog here.How To See Your Latest Flickr Uploads on Facebook
I was chatting with my buddy Michael, who is an avid photography enthusiast like myself, and he asked me how I set my Facebook wall to display updates whenever I upload new photos onto Flickr. Here's our edited chat:
Michael: Hey bro, what app are you using to show your Flickr uploads on your Facebook profile? I've tried using MyFlickr - but it doesn't display uploads in the profile - and that's really what I want.
Me: What's up! I'm looking now...I had someone help me, so I don't remember. I'm not a big fan of the Facebook user interface.
Michael: Ditto bro.
Myron: The Flickr UI ain't great either.
Michael: Just the fact that you can't even format your messages - WTF?
Myron: Haha!
Michael: Lame.
Myron: My lord this is embarrassing, but I can't figure out how I did it. Must confer with coworker, I'll get back to ya. Note: I actually didn't confer with anyone :-)
Michael: No prob man. Thx for looking into it. Weather beautiful over there today?
Myron: Oh yeah, blue skies, loving it! Okay, try this.
Michael: Lay it on me.
Myron: Log into your Flickr account.
Michael: k
Myron: Click on the small arrow to the right of the "You" link near the top left corner.
Myron: Click on "Your Account".
Michael: Check.
Myron: Click on "Extending Flickr" (it's the fourth tab in the middle of the page).
Myron: Near the bottom, there is a section entitled "Your Facebook account". Click on "Link your accounts".
Michael: Yeah!
Myron: Lemme know if that does anything for you (if that doesn't work, we can try going in the reverse direction and starting from FB).
Michael: YES!
(more chatter)
Myron: Hahaha, this is going in my blog!
Michael: Totally brother.
Myron: It's convoluted right?!!
Michael: Completely *&#@ing convoluted. I installed and configured a whole app for NOTHING.
Myron: Two mildly capable web developers should not have such a hard time with this!
Michael: (rofl) Totally man.
Myron: I know! I think I went down your path too, and was like WTF? Meanwhile I get 4 million Mafia/Dope Wars/Duck duck goose invites!
Michael: I know.
Myron: Well, I'm happy to have served a purpose today.
Michael: I was hoping to increase my traffic on Flickr this way its perfect you have made my day!!! Gold star for Myron!!!
Myron: HAHAHAHA!!!
 Here's our edited chat:
Michael: Hey bro, what app are you using to show your Flickr uploads on your Facebook profile? I've tried using MyFlickr - but it doesn't display uploads in the profile - and that's really what I want.
Me: What's up! I'm looking now...I had someone help me, so I don't remember. I'm not a big fan of the Facebook user interface.
Michael: Ditto bro.
Myron: The Flickr UI ain't great either.
Michael: Just the fact that you can't even format your messages - WTF?
Myron: Haha!
Michael: Lame.
Myron: My lord this is embarrassing, but I can't figure out how I did it. Must confer with coworker, I'll get back to ya. Note: I actually didn't confer with anyone :-)
Michael: No prob man. Thx for looking into it. Weather beautiful over there today?
Myron: Oh yeah, blue skies, loving it! Okay, try this.
Michael: Lay it on me.
Myron: Log into your Flickr account.
Michael: k
Myron: Click on the small arrow to the right of the "You" link near the top left corner.
Myron: Click on "Your Account".
Michael: Check.
Myron: Click on "Extending Flickr" (it's the fourth tab in the middle of the page).
Myron: Near the bottom, there is a section entitled "Your Facebook account". Click on "Link your accounts".
Michael: Yeah!
Myron: Lemme know if that does anything for you (if that doesn't work, we can try going in the reverse direction and starting from FB).
Michael: YES!
(more chatter)
Myron: Hahaha, this is going in my blog!
Michael: Totally brother.
Myron: It's convoluted right?!!
Michael: Completely *&#@ing convoluted. I installed and configured a whole app for NOTHING.
Myron: Two mildly capable web developers should not have such a hard time with this!
Michael: (rofl) Totally man.
Myron: I know! I think I went down your path too, and was like WTF? Meanwhile I get 4 million Mafia/Dope Wars/Duck duck goose invites!
Michael: I know.
Myron: Well, I'm happy to have served a purpose today.
Michael: I was hoping to increase my traffic on Flickr this way its perfect you have made my day!!! Gold star for Myron!!!
Myron: HAHAHAHA!!!
Here's our edited chat:
Michael: Hey bro, what app are you using to show your Flickr uploads on your Facebook profile? I've tried using MyFlickr - but it doesn't display uploads in the profile - and that's really what I want.
Me: What's up! I'm looking now...I had someone help me, so I don't remember. I'm not a big fan of the Facebook user interface.
Michael: Ditto bro.
Myron: The Flickr UI ain't great either.
Michael: Just the fact that you can't even format your messages - WTF?
Myron: Haha!
Michael: Lame.
Myron: My lord this is embarrassing, but I can't figure out how I did it. Must confer with coworker, I'll get back to ya. Note: I actually didn't confer with anyone :-)
Michael: No prob man. Thx for looking into it. Weather beautiful over there today?
Myron: Oh yeah, blue skies, loving it! Okay, try this.
Michael: Lay it on me.
Myron: Log into your Flickr account.
Michael: k
Myron: Click on the small arrow to the right of the "You" link near the top left corner.
Myron: Click on "Your Account".
Michael: Check.
Myron: Click on "Extending Flickr" (it's the fourth tab in the middle of the page).
Myron: Near the bottom, there is a section entitled "Your Facebook account". Click on "Link your accounts".
Michael: Yeah!
Myron: Lemme know if that does anything for you (if that doesn't work, we can try going in the reverse direction and starting from FB).
Michael: YES!
(more chatter)
Myron: Hahaha, this is going in my blog!
Michael: Totally brother.
Myron: It's convoluted right?!!
Michael: Completely *&#@ing convoluted. I installed and configured a whole app for NOTHING.
Myron: Two mildly capable web developers should not have such a hard time with this!
Michael: (rofl) Totally man.
Myron: I know! I think I went down your path too, and was like WTF? Meanwhile I get 4 million Mafia/Dope Wars/Duck duck goose invites!
Michael: I know.
Myron: Well, I'm happy to have served a purpose today.
Michael: I was hoping to increase my traffic on Flickr this way its perfect you have made my day!!! Gold star for Myron!!!
Myron: HAHAHAHA!!!Tuesday, January 27, 2009
Abused Pooh Bears
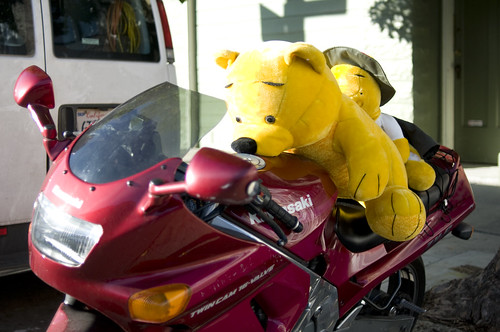 While walking to Bi-Rite Creamery in the Mission district in San Francisco, I saw these two bears perched rakishly on a motorcycle. They looked so happy.
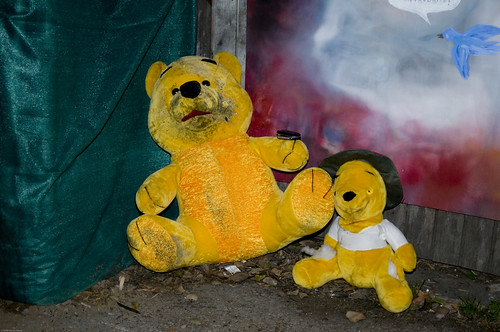
Sadly, much later that night, in an alley behind Amy's house, I found them huddled in a corner, dirty and bereft of their ride. At least they still had each other!
Top Secret Experiment
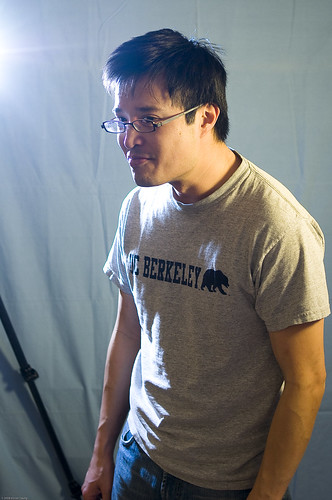 Lighting: Key light: tungsten-colored CFL bulb in a work lamp at 4:00 camera right. Rim light: bare flash at 10:00 camera left.
Monday, January 26, 2009
The Flames, The Flames!
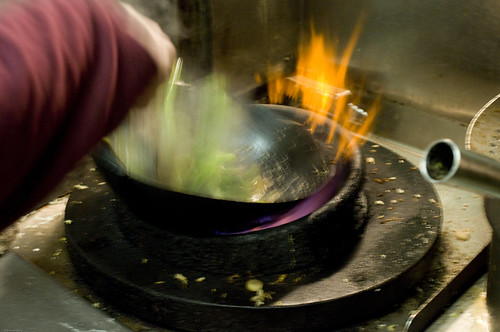 Exposure: 52.5mm focal length, 1/13 sec, f/5.6, ISO 800, 9:06pm.
I was over at my buddy Brian's restaurant, killing time, when I saw flames leaping out from under his wok. Talk about a Kodak moment! The flames appeared and disappeared quickly, so I had a hard time capturing them, until I increased my exposure time dramatically to 1/13 seconds. By leaving the shutter open that long, I could catch the flames moving around.
You can see more photos from his kitchen here.
More Wannabe Platon Photos
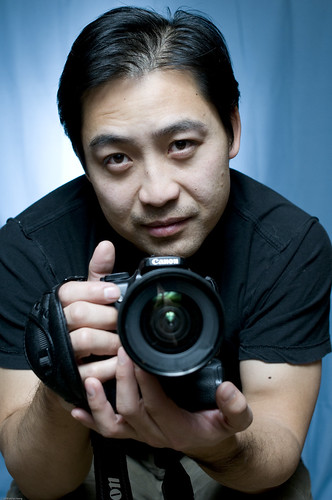 Artificial lighting: Bare flash behind Brian to light the background. Flash shot through umbrella directly over camera.
 Tuesday, January 20, 2009
Lesson Learned: Don't Be Afraid of On-Camera Flash
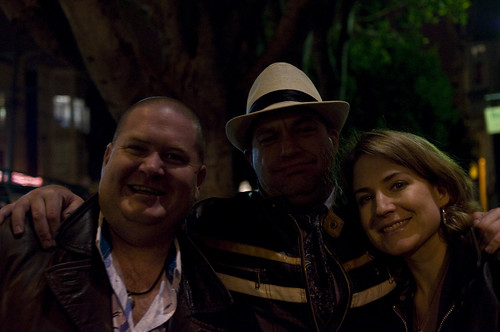 I don't like blasting people in the face with on-camera flash, because it gives them a deer caught in the headlights look. For this reason, when I use on-camera flash, I like to bounce the light off a ceiling. In this case, that wasn't an option, because my friends and I were outside.
Instead of hitting people directly with the flash, I turned it off and hoped that the ambient light, slow exposure time, wide aperture, and high ISO would be enough to properly expose everyone's faces. As you can see above, my friends were underexposed and Brigham's face is almost completely hidden by his hat.
Thankfully, I switched gears later and started using my flash. The photos don't look great, but at least you can see everyone's face. Below is a clearer shot of Brigham.
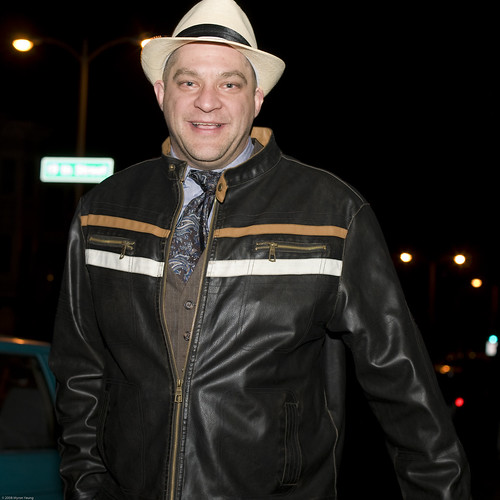 You can see more photos from that evening here.
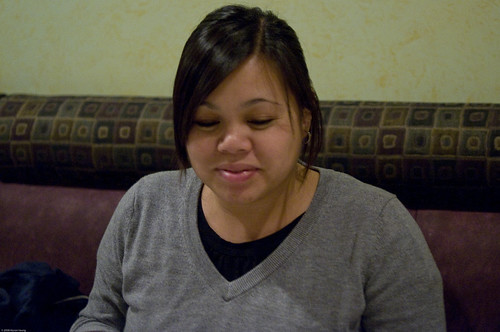
Disappointing Photos from Tina's Party
 I had dinner at Tina's (left) with Amy (right) this past New Year's Eve. The photos I took were terrible!
The white balance was off due to the green-beige-ish walls. I couldn't correct the color temperature in Lightroom easily and didn't want to spend a lot of time post-processing.
It was dark, so the photos looked murky. Maybe the focus was off or maybe the camera sensor couldn't capture enough detail.
Unlike at Thanh Long, I could have lit the subjects with a flash, but I left it in my bag, because I was too lazy to bring it out. Shame on me!
You can see more of my bad shots from Tina's party here.
I had dinner at Tina's (left) with Amy (right) this past New Year's Eve. The photos I took were terrible!
The white balance was off due to the green-beige-ish walls. I couldn't correct the color temperature in Lightroom easily and didn't want to spend a lot of time post-processing.
It was dark, so the photos looked murky. Maybe the focus was off or maybe the camera sensor couldn't capture enough detail.
Unlike at Thanh Long, I could have lit the subjects with a flash, but I left it in my bag, because I was too lazy to bring it out. Shame on me!
You can see more of my bad shots from Tina's party here.Monday, January 19, 2009
Great Food, Great Times, Not So Great Photos
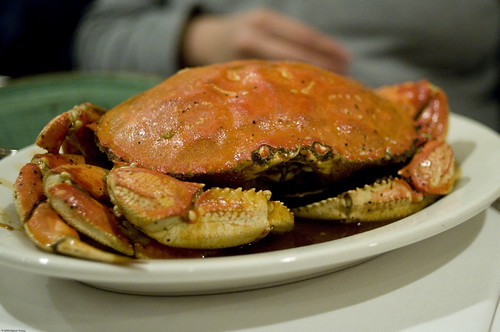 Recently Mark, Amy, Amy, and I went out to dinner at Thanh Long in San Francisco. The crab was amazing and the garlic noodles were heavenly. My photos were not so heavenly.
Although the shots of the food turned out okay, the more important shots of my friends were disappointing. Their faces were murky. Was it due to poor focusing in the low light? Or was it because the sensor couldn't capture enough detail? I'm not sure. Bottom line: the photos came out poorly. Why didn't I use a flash? Because I didn't want to disturb the people around me who paid good money to munch on their seafood in peace. What would I do differently next time? I would borrow Mark's fast 50mm f/1.4 lens and see if it performs better than my 35mm f/2. See more of the photos here.
Sunday, January 18, 2009
Being Efficient With Your Subject's Time
 While waiting for my girlfriend Amy to meet me outside the Old Navy in downtown San Francisco, I noticed a perfect opportunity to take a quickie portrait. I liked the colors on display in the shop window. More importantly, the window was a large source of diffuse light, so if Amy stood next to it, her face would be softly lit.
As with most things in life, advance preparation is important, especially because Amy doesn't like to stand out in the cold while I tinker with my camera!
While waiting for my girlfriend Amy to meet me outside the Old Navy in downtown San Francisco, I noticed a perfect opportunity to take a quickie portrait. I liked the colors on display in the shop window. More importantly, the window was a large source of diffuse light, so if Amy stood next to it, her face would be softly lit.
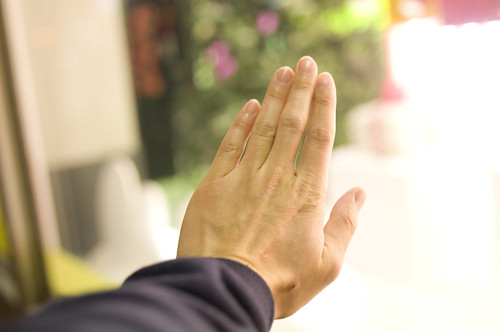
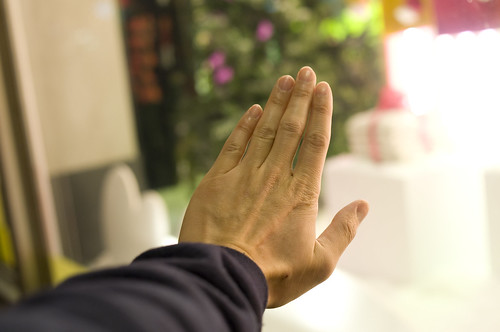
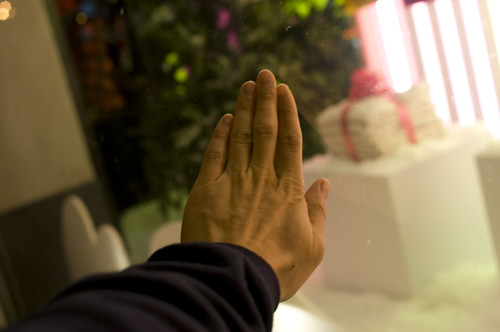
As with most things in life, advance preparation is important, especially because Amy doesn't like to stand out in the cold while I tinker with my camera!First thing I did was use my hand to test what exposure setting would best light her face without overexposing the items in the window.
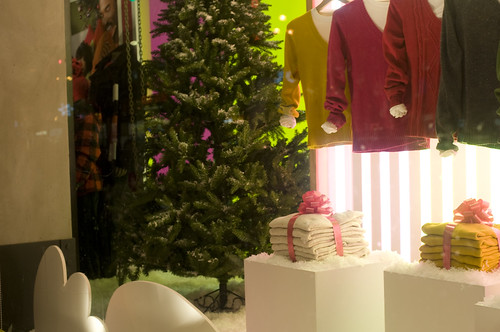
Second, I took some test shots of the window to figure out how to best frame the photo.
When she arrived, I was ready to go. I told her where to stand and told her to smile. Thirty seconds and two shots later, I was done and we were off to dinner.
Though the exposure settings and composition I chose for Amy differed from my test shots, I was very close. I only had to make a few minor tweaks. The few minutes I spent figuring things out without Amy saved her from having to endure that time in the cold.
Whether it's scouting locations, setting up your lighting, or figuring out your exposure settings, the more you can do before your subject arrives, the more efficient you can be with your subject's time.
Friday, January 16, 2009
Missing Malou
I was at a popular restaurant with coworkers when I saw a camera crew surveying the scene. I caught a glimpse of local television personality Malou Nubla interviewing people outside.
I wanted to take some discreet shots of her as I walked out of the restaurant, so before getting up to leave, I readied my camera for some quick shots.
I set my autofocus to the most automatic setting (I normally use a single focus point and have to aim carefully). I set the shutter release to continuous low, so that I could take a series of photos quickly. Finally I held my camera close to my chest hoping that I could aim the lens without looking through the viewfinder.
But I forgot to change the exposure settings! My exposure time, aperture, and ISO were set to capture my coworkers inside the restaurant where the ambient light level was many stops below the light level outside. What a rookie mistake! I should have just put the camera into aperture-priority, shutter-priority, or full auto mode...anything but manual exposure mode! Shame on me!
Natural Light Is Awesome
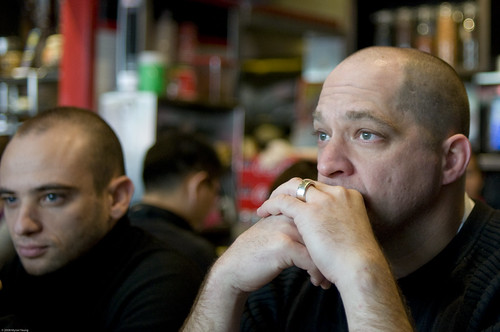 I took some photos of my coworkers and I having lunch at a popular Chinese restaurant near my office. I sat with my back towards the window, so the coworkers sitting across from me were nicely lit by indirect sunlight. My other coworkers were not so lucky because they sat next to me and the sun only lit the back of their heads. I didn't pull out the flash out of respect for the other diners. Wow, what a difference a bit of diffuse sunlight makes!
You can see the rest of the photos here. You guess which people didn't require much post-processing to bring out the details of their face.
I took some photos of my coworkers and I having lunch at a popular Chinese restaurant near my office. I sat with my back towards the window, so the coworkers sitting across from me were nicely lit by indirect sunlight. My other coworkers were not so lucky because they sat next to me and the sun only lit the back of their heads. I didn't pull out the flash out of respect for the other diners. Wow, what a difference a bit of diffuse sunlight makes!
You can see the rest of the photos here. You guess which people didn't require much post-processing to bring out the details of their face.Digitizing Old Photos
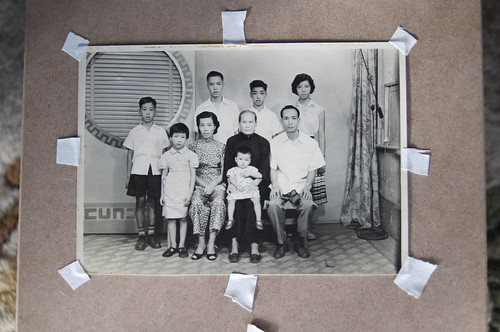
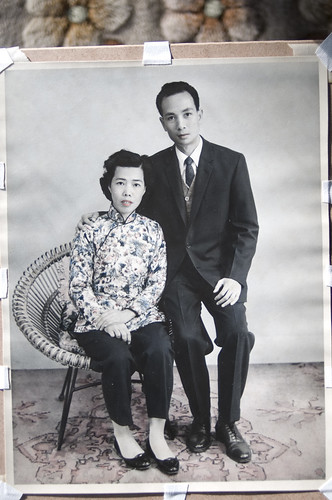
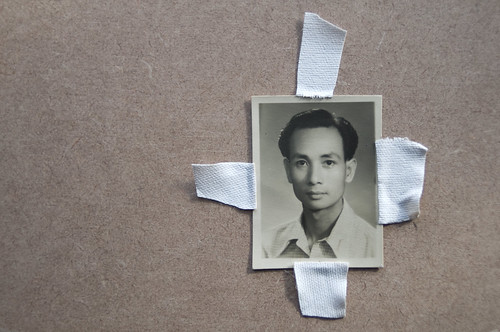
My friend Jeanna asked me to help her digitize some very old family photos for a digital slideshow. It sounded like great fun, so I gave it a shot. My brother tried to scan the photos, but because they were matted, the scanner produced photos with ugly grid marks.
Here's what I learned:
1. Handle photos with care, they are precious.
2. Use tape that doesn't leave a sticky residue, e.g. gaffer tape. Immediately remove tape after you're done shooting.
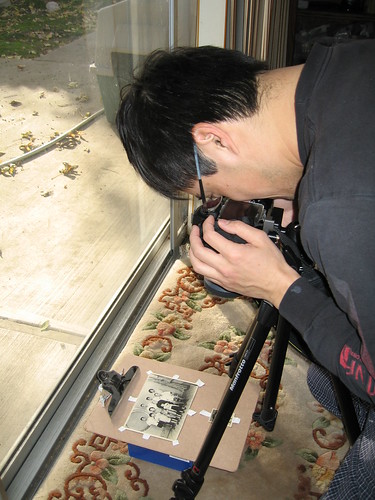
3. Shoot with a big diffuse light source. You want to avoid shiny spots (specular highlights).
4. Decrease the exposure to reduce the appearance of dust. Unless you have access to a lab room, there will always be dust on the photos.
5. Make sure the plane of the photo is parallel to the plane of the camera sensor/film. Simply speaking, make sure that the center of the lens is over the center of the photo and don't let one side of the photo tip farther away from the lens relative to the other side.
6. It's okay to capture some of the tape or even the surface under the photo, because you can crop it out or remove it during post-processing.
In my setup shot, you can see that I am very close to the soft light coming through the window. Also note how the sensor film of my camera is not parallel to the plane of the old photograph. See how it messed up the top photo. Tsk tsk!
We all have old family photos we want to preserve digitally. If scanning is not an option, then try taking photos of the photos!
Tuesday, January 13, 2009
Scary Matt
After Christmas dinner with the family, I dragged my brother-in-law Matt into the living room, so that I could experiment with my DIY poster board reflector.
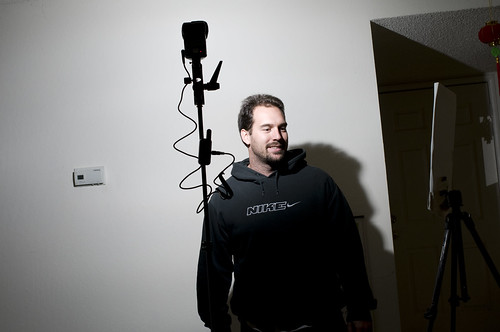
The main light was a flash on a light stand at camera left. The camera right side of his face was too dark, so I taped the board to my tripod in order to reflect some of the light from the flash back onto Matt. The poster board provided just enough light to fill in the shadows on the left side of his face and make him look "mysterious" ;-)
San Francisco in the Rain

It was raining on Christmas Eve as I headed out of work and towards the train station (yes, I worked Christmas Eve). I didn't want to get my camera wet, but the camera supposedly has "environmental seals", so I thought what the heck.
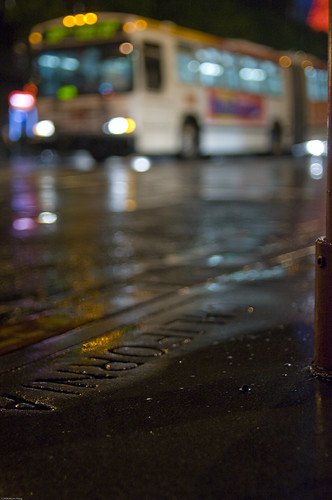
I had fun taking the photo on the left. I set the camera focus to manual and focused on the California inscription on the sidewalk. To get the camera low, I propped it on my foot. I must have looked crazy out there in the rain!
The rain coated everything, giving the scene a nice reflective quality. For lack of a better description, everything just looked cooler. I think the city looks better wet than dry.
You can see the rest of the photos here.
More Photos of San Francisco at Night
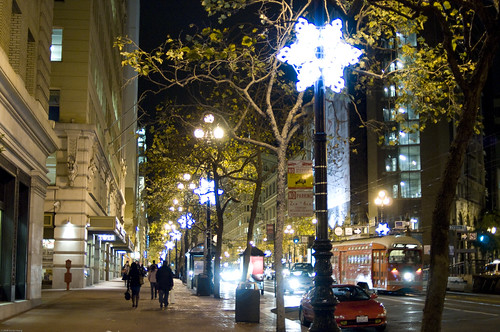 Wow! It's been a long time since my last post. Work (the kind that pays the bills) has been keeping me busy, but I was still able to find time to snap off a lot of shots. Look for an avalanche of posts in the upcoming weeks.
A couple of days before Christmas, I took some shots while strolling around downtown San Francisco. You can see the rest of the photos here.
Subscribe to:
Posts (Atom)


