Sunday, October 19, 2008

Practice is Good

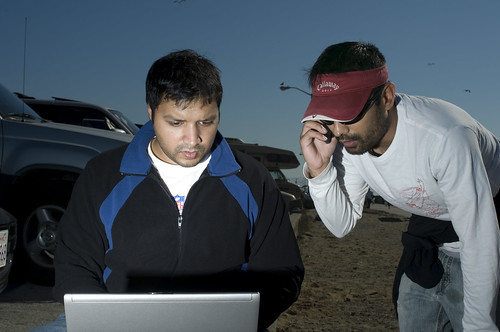
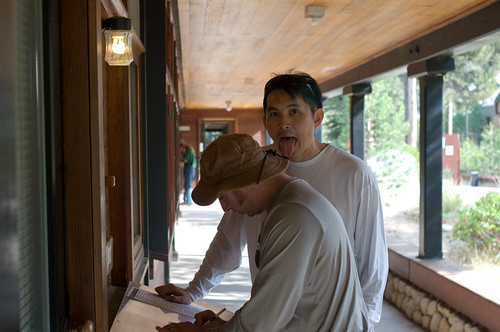
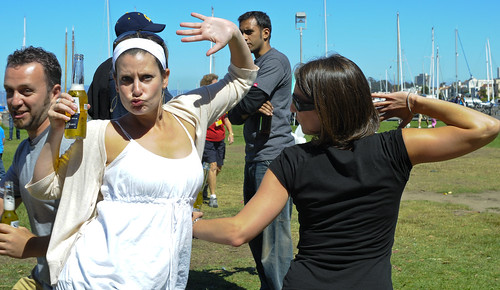
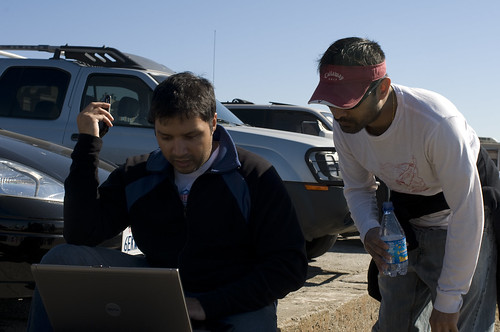
At the Ocean Beach Cleanup, I wanted to capture my buddies hard at work on the laptop. Unfortunately, the ambient light level was very high, but their faces were deeply shadowed. I also wanted to dial down the sky to give the photo a dark and moody look for the heck of it. I've practiced with setting up my flash many times now and it's beginning to be second nature to me. That's good because my subjects were not happy to have the flash hitting their faces! Flash info: Bare flash at 1/2 or full power, 50mm zoom, 7:00 camera left, 4 feet away from subject.

Saturday, October 18, 2008

Exhausting Week

The last few days have been exhausting. 814 shots, 11.4 GB of data, and three days later, I'm back at home struggling to finish this post before I poop out. In this short period I went to the Ocean Beach Cleanup volunteer event with Hotwire, had a very filling lunch with coworkers at Jeanty at Jack's in San Francisco, and attended the Red Bull Soapbox Race at Dolores Park in the Mission district of San Francisco. This coming week I will be posting photos and my thoughts from the past few days. As always there are hero and zero shots and I'll talk about them. I'll also discuss new lessons I've learned and some lessons I've had to relearn.
Friday, October 17, 2008

Unexpected Shots

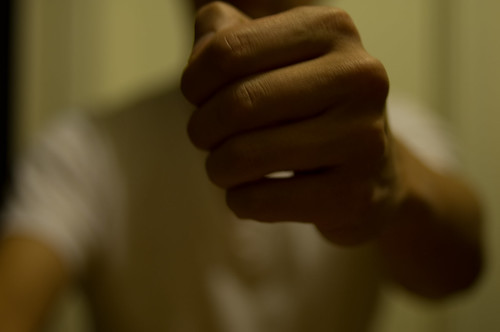
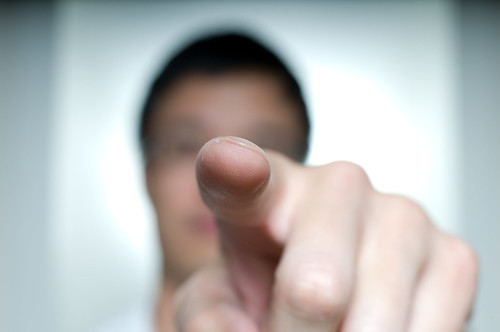
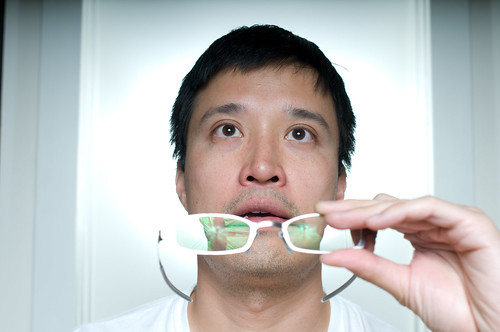
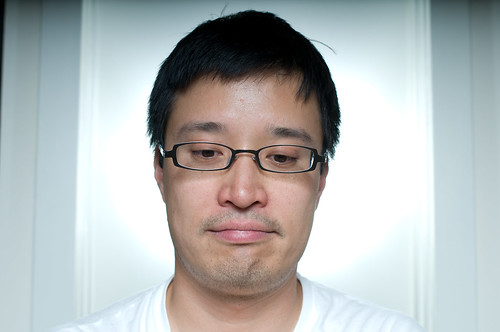
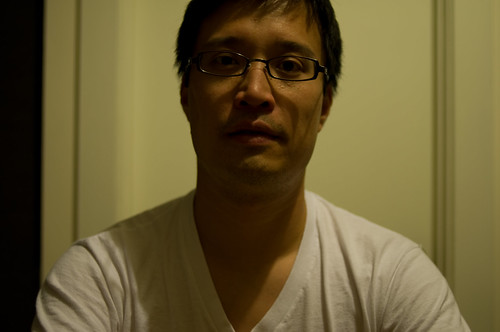
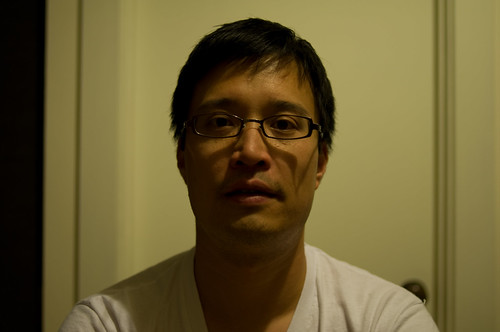
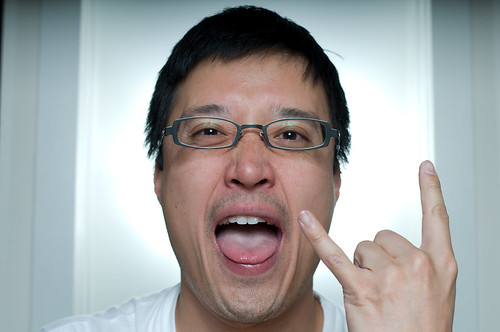
I like to take shots to gauge the exposure or examine the composition before I take the "final" shot. I also like to mess around for the heck of it. Sometimes an unexpectedly interesting shot appears out of the blue. In the above photo, my autofocus had trouble locking onto my shirt, so I stuck my hand in front of the lens to see if it would lock on to it. It did and the resulting photo intrigued me. It led me to create this one, which I like even more. I love how I never know exactly what I'm going to get when I press the shutter release!

Thursday, October 16, 2008

Sequoia National Park: HDR vs. Original Image

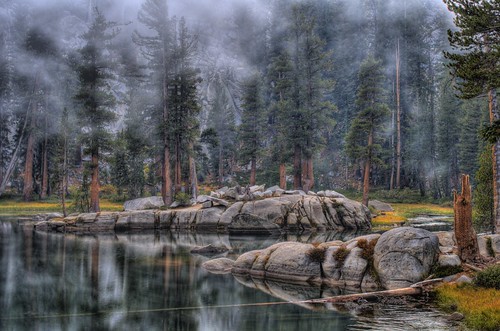
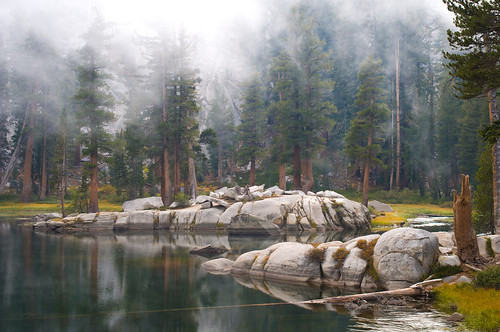
I like the above HDR photo of Heather Lake. It has an otherworldy feel to it. Unfortunately, it isn't an accurate representation of what I saw. I've been getting a lot of questions from people about what non-HDR photos of the lake actually looked like. No one thought that the HDR looked realistic and I definitely agree. I dug up the third photo of the five that I combined to create the HDR. This photo looks much closer to reality. In Lightroom I increased the contrast by 45% and the vibrance by 60%.

Have Fun

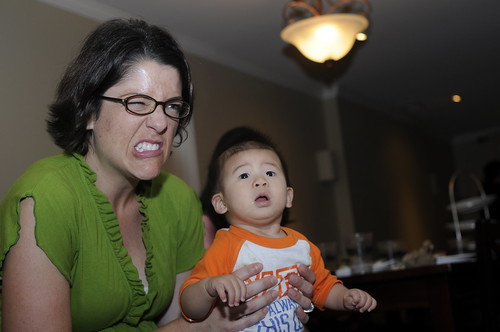
I think the more fun I'm having, the more my subjects relax and get silly. This makes for some very interesting pictures!

Wednesday, October 15, 2008

Beware Eyeglasses

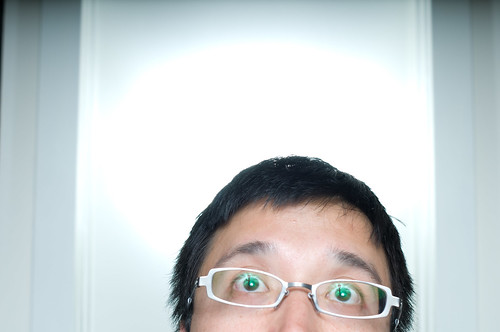
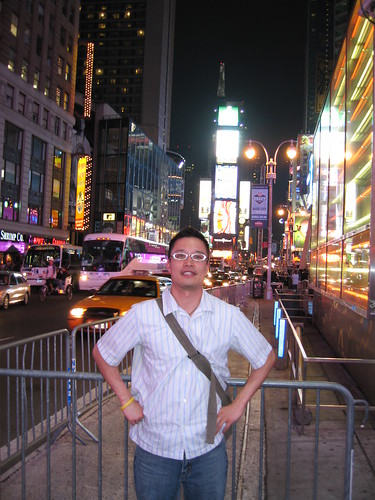
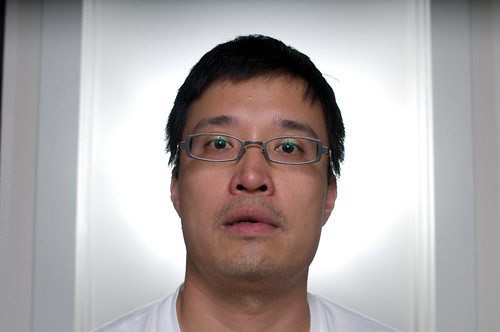
Eyeglasses present a special challenge for photographers. They reflect a lot of light which obscures the wearer's eyes and therefore ruin the shot. This is made worse when the subject wears reflective metal glasses like mine. Check out this photo of me taken with the onboard flash on my point-and-shoot in the middle of Times Square in New York City. I look like Elton John! In my previous post, I was pleasantly surprised that there was no significant reflection off my glasses. This is due to the fact that the key light is high above me, therefore the light that hits my glasses glances off towards the ground and not right back at the camera. If I needed another reason to take the flash off the camera, this is it. Just for fun, I angled my glasses so that the key light reflected back into the camera. :-) In conclusion, if you're taking photos of eyeglass wearers, have them take it off, or make sure that your flash is positioned in such a way that the light from it doesn't reflect back into the camera lens. The easiest way to do this is to take the flash off the camera.

Tuesday, October 14, 2008

Step By Step: Faking Platon

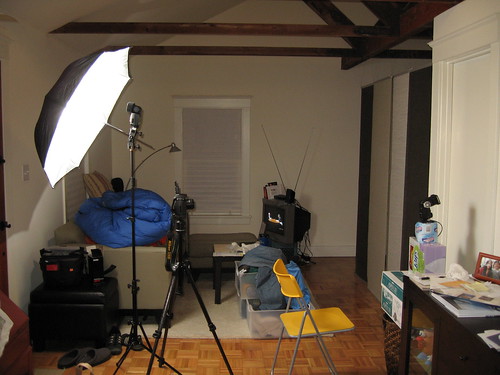
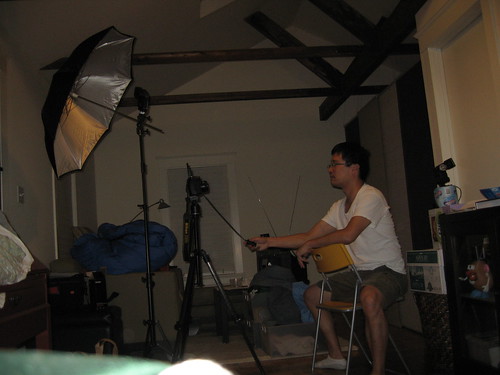
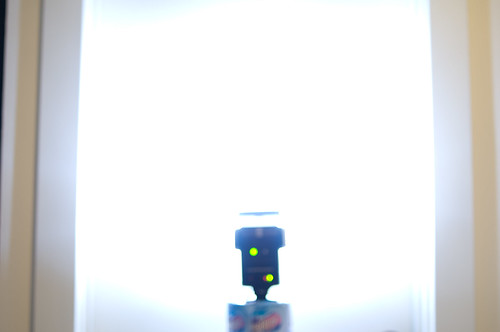
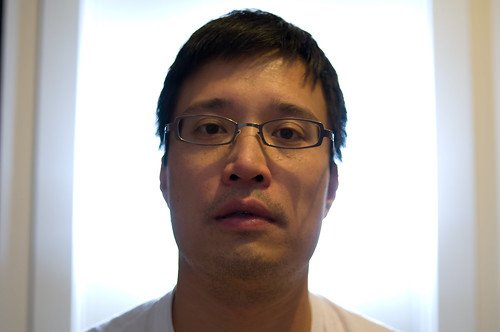
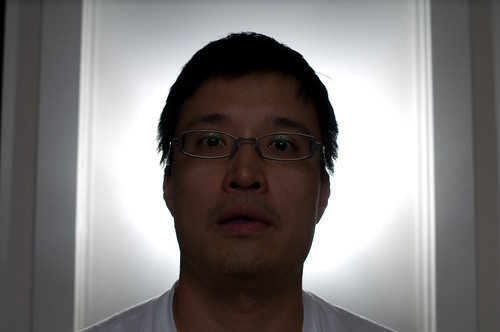
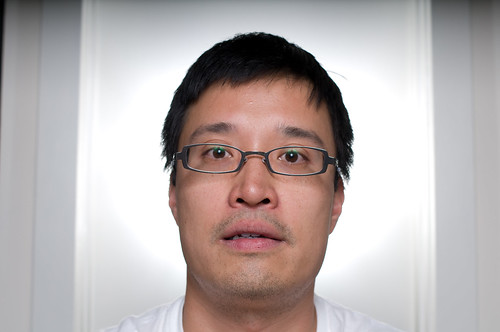
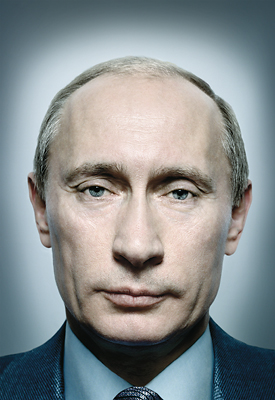
Grab a cup of coffee and nestle into your favorite chair. This is going to be a long post. On Monday, Strobist posted an interview of Platon, and it reminded me how much I like his work. He's famous for his unique portraits of powerful people. A couple that stand out are his portraits of Putin and Eliot Spitzer. My Vivitar 285HV flash mysteriously rose from the dead, so I was eager to try out some two flash setups. Imitation is the sincerest form of flattery, so I wanted to see if I could mimic Platon's work. The results are so-so, but the effort was very rewarding. It was so fun that I provided a step by step guide to how I created these photos. None of the photos on display have been post-processed or cropped. First, here's one of my favorite ones of the lot: So how did I create this photo? Here's the setup: The key light was 5'8" high and angled ~25 degrees towards me. The key light was 16" from the center of the umbrella. The key light was one foot behind the camera. The camera was 2.5 feet away from my face. My head was about four feet off the floor and 2.5 feet away from the background flash. The background flash was 3.5 feet high, angled up 30 degrees, and one foot away from the bathroom door. How did I come up with this setup? Trial and error, see below. 1. Find a relatively clean background. My studio cottage is tiny with lots of windows, so I had to settle on my bathroom door. 2. Sit on the chair and keep snapping and examining the photos until I figure out where my head should be. The ambient light is low, so the exposure is set at ISO 100, 1/10 sec @ f/2. I don't want to jack up the ISO, because I tend to forget to reset it when I need to. 3. Place the background flash and keep snapping and examining the photos until the light looks good next to my head. I settle on 1/16 power at the widest zoom of the Vivitar 285HV. 4. Now that the body position and background light are determined, set up the key light. I set the flash high and reflect it off my umbrella. I typically use my umbrella in shoot-through mode, but my house is so small, that the reflection on the flash side might bounce off the wall behind it and perhaps light up the whole room. 5. Set the aperture to f/5.6 because it offers a decent amount of depth of field, so my entire face will be in focus. Set the exposure time to 1/320 sec to reduce the impact of the ambient light. 6. Turn off the ambient light (my television and laptop are left on, but they are very dim). It turns out that my exposure settings capture so little light that it doesn't matter whether or not I leave the ambient light on. 7. Sit down, snap a shot, adjust the power of the key light, examine the photo, and repeat until my face is properly exposed. Having a remote shutter release helps. Key light @ 1/16 power: Key light @ 1/4 power: Key light @ 1/2 power: Key light @ full power: I like the way my face is exposed with the key light at full power. 8. Play around and try out different expressions! This is the fun part. 9. Take what I've learned and inflict in on others! It's not the exact ISO, exposure time, aperture, or flash settings that matter. What's important is the logic that was applied to create these images. Lessons learned: 1. Need a second light stand. My background flash was always in danger of falling off the roll of toilet paper! 2. Need a bigger flat background so that the fall off of the background flash could be seen. Or maybe reduce the power of the flash. Unfortunately the Vivitar flash was already at its minimum level of 1/16. The door frame on the sides looked kinda cool and helped to frame my face, but it wasn't very "Platonesque". 3. The key light contaminated the background, so I didn't have a clean separation of the background with the foreground. More distance between the key light and background would have helped. Or I could have turned the power of the key light down and moved it closer to my face. 4. Gelling the background flash might have added some interest, especially since my white shirt looked too much like my white door. 5. I should have feathered the key light in a way that would darken my neck and upper body. 6. I need a haircut. You can see more photos from this session on flickr.