 Exposure:
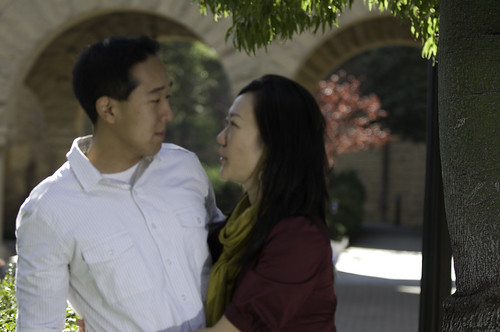
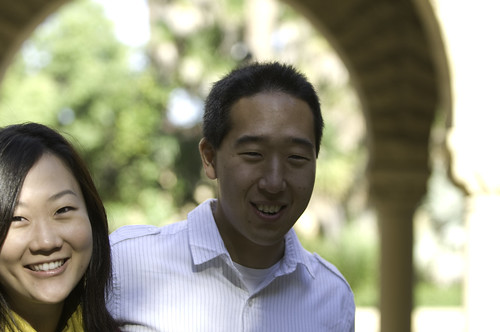
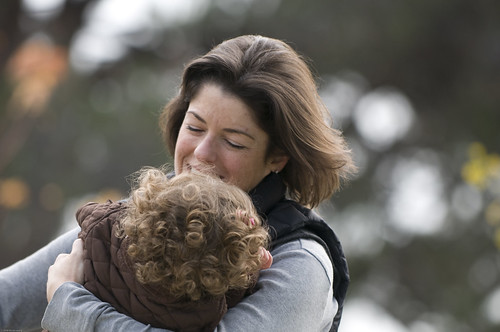
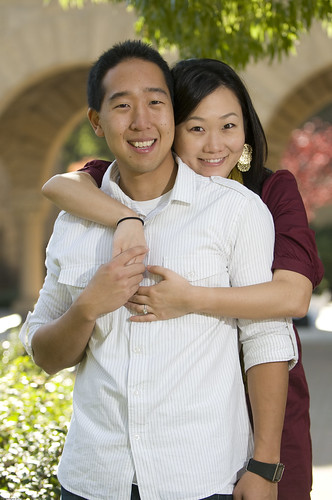
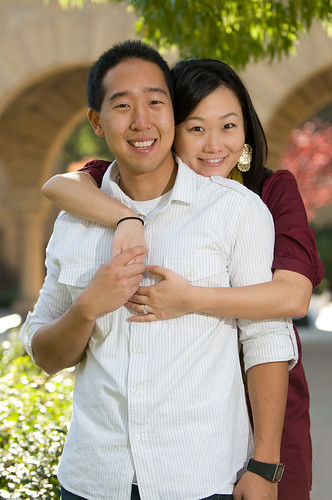
 129mm focal length, 1/125 sec, f/2.8, ISO 100, 2:02pm.
I've mentioned this
before: focus is very important. This is especially true when testing a new lens on an important shoot.
For Herie and Gene's engagement photos, I rented a 70-200mm f/2.8 lens for the first time. I wanted a great portrait lens: one that didn't distort facial features and one that had great
bokeh. Unfortunately, I didn't really know how to use it before unleashing it on Herie and Gene, because I rented it just before meeting them for breakfast.
I nearly panicked when I saw the results on the computer, because Herie and Gene were out of focus and blurry in many of the shots. I think these were the possible reasons:
1. Exposure time was too short for the focal length of the lens: The general rule for avoiding blurry photos is to keep the exposure time shorter than the focal length of the lens. This can be a confusing concept to understand, but it's fairly simple to figure out how to apply the rule by looking at an example. If the focal length is 100mm, then the exposure time must be at or under 1/100 sec. When I did the rough calculation in my head while shooting, I forgot to take into account that on my DSLR's cropped sensor, the EFFECTIVE focal length is 50% longer than the focal length indicated on the lens. That means that if the lens says 100mm, the effective focal length is actually 150mm. So when I shot at 1/100 sec, I really should have shot at 1/150 sec! Some of you may know that the lens has vibration reduction (VR) built into it. This means that I can shoot at a longer exposure time, but unfortunately it doesn't help me when the subjects move (see #3).
2. Aperture was wide open at f/2.8: The depth of field was at its shallowest, so it was difficult to get everything in focus: even if Herie or Gene's face was in focus, the other was not. I was so concerned with getting great bokeh, that I never thought to experiment and stop down the aperture.
3. Subjects moved too quickly for me: This would have also caused blurriness.
4. Autofocus point was incorrectly aimed: I relied on a tiny single-point on the viewfinder to determine focus. If my aim was off, then the shot was
ruined.
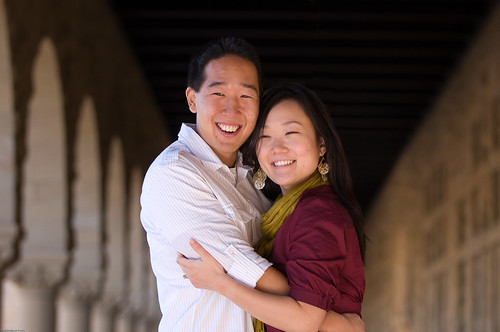
At first glance I thought I totally screwed up the photo above, but upon closer inspection, I saw that Gene was in focus, while Herie was not. That means that I wasn't a complete failure! If I had stopped down the aperture to maybe around f/5.6 then both their faces would have been in focus. Oh well, I'll do better next time!
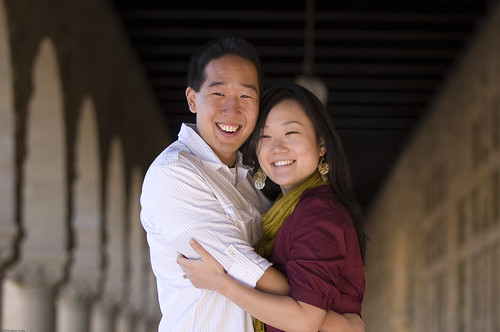
Here are some more examples of Herie and/or Gene out of focus:
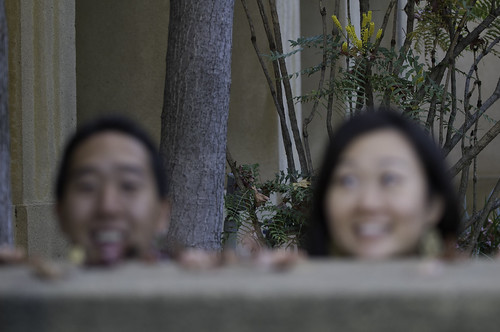
Exposure: 112mm focal length, 1/100 sec, f/2.8, ISO 100, 11:43pm.
Reasons 1 & 2
Exposure: 105mm focal length, 1/400 sec, f/2.8, ISO 100, 12:14pm.
Reason 4 (focused on tree on the right...weird!)
Exposure: 105mm focal length, 1/250 sec, f/2.8, ISO 100, 12:19pm.
Reason 3
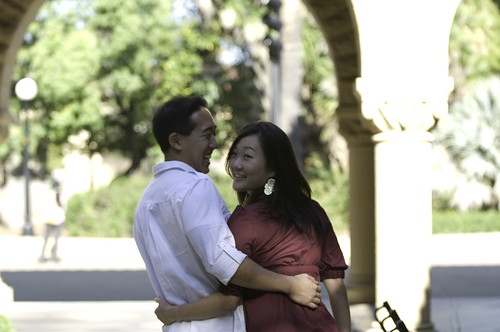
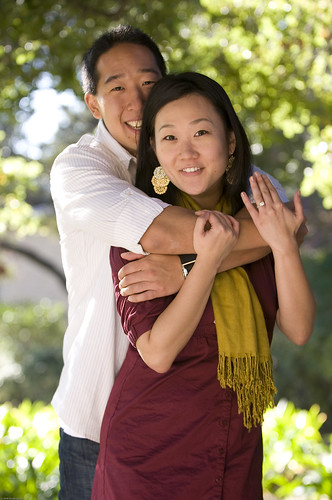
Exposure: 105mm focal length, 1/250 sec, f/2.8, ISO 100, 12:20pm.
Reason 2
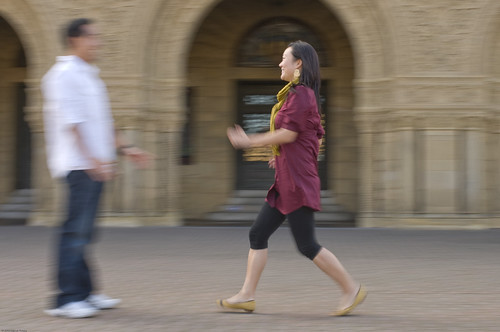
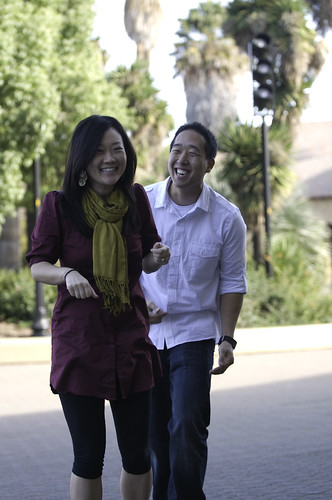
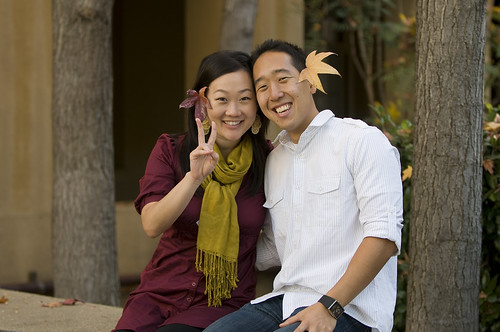
Exposure: 105mm focal length, 1/60 sec, f/2.8, ISO 100, 12:42pm.
Reasons 1, 3 & 4 (focused on her scarf)
Exposure: 123mm focal length, 1/80 sec, f/2.8, ISO 100, 12:59pm.
Reasons 1 & 4 (focused on the tree in the background)
Thank goodness for Lightroom's sharpening tool. It isn't perfect, but it did help a little bit.
Looking back, I should have continuously checked the focus of my subjects by magnifying them on my camera's LCD screen. I didn't have to do it after every shot, but if I had done it more often, perhaps I would have remembered to decrease the exposure time and stop down the aperture.
I threw a lot of concepts and principles into this post. If you're confused, don't worry. In the upcoming weeks, I will revisit them individually and add more detail.
 If you want to learn more about this tool, take a look at this post.
If you're viewing this on a browser other than Safari, you might notice that the photos on the right look more warm. This is a color space issue. The photos on the left were saved in the ProPhoto RGB color space, while the ones on the right were saved in Adobe RGB. Check out this post for more details.
If you want to learn more about this tool, take a look at this post.
If you're viewing this on a browser other than Safari, you might notice that the photos on the right look more warm. This is a color space issue. The photos on the left were saved in the ProPhoto RGB color space, while the ones on the right were saved in Adobe RGB. Check out this post for more details.