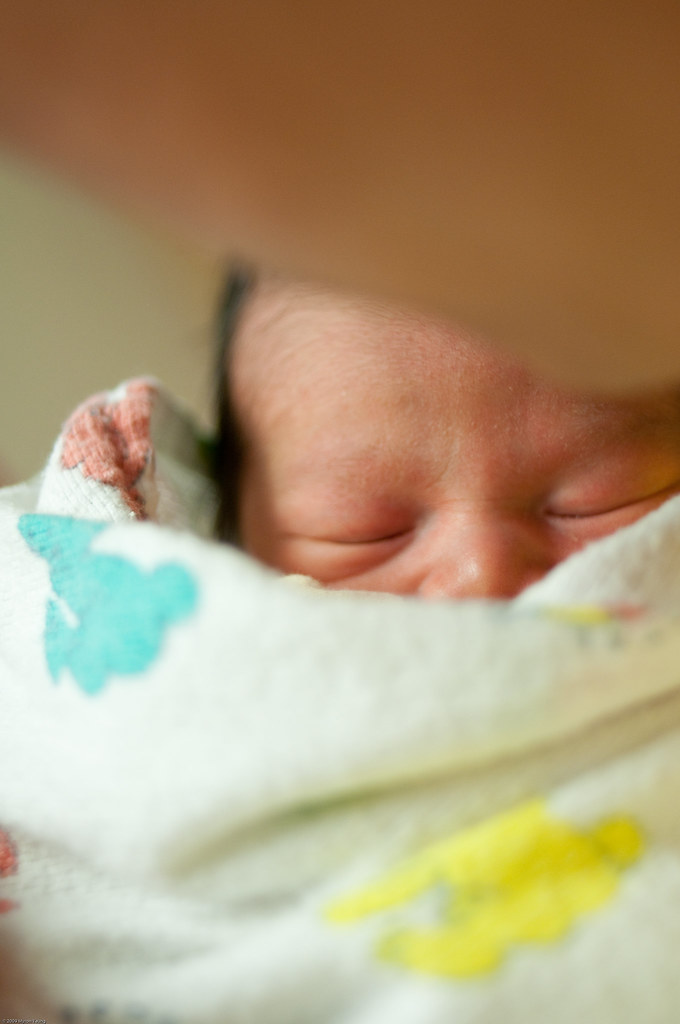
I have a brand spanking new nephew! His name is Jacob and he and his mom (my sister) are doing great. I got a chance to take some photos of him this morning at the hospital. I didn't want to use flash, because Jacob's eyes are still sensitive. To make up for the lack of a flash, I chose to use long exposure times over setting my camera to a high ISO, because I didn't want to see a lot of grain in my photos. I also set my shutter mode to high speed continuous release, used window light whenever possible, and steadied myself on anything stable.
 Exposure:
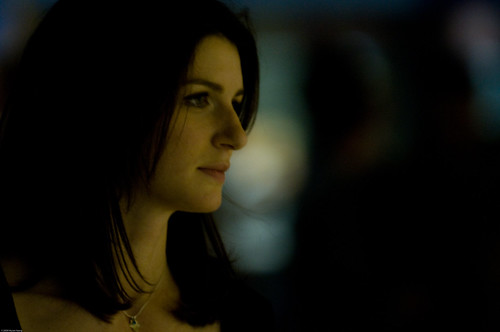
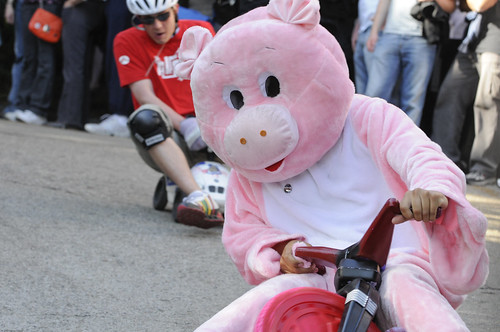
 52.5mm focal length, 1/20 sec, f/5.6, ISO 200, 10:00am.
Post-processing in Lightroom: Cropped, increased fill light, reduced color temperature.
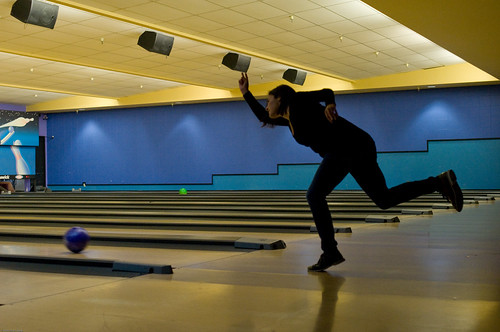
To avoid camera shake, I never set the exposure time longer than 1/50th sec when handholding my camera, because my lens has an effective focal length of 52.5mm. When I wanted to increase my exposure time to around 1/20th sec, I put my camera on a tripod and used the tripod like a monopod. By supporting my camera in this way, I reduced a lot of camera shake.
 Exposure:
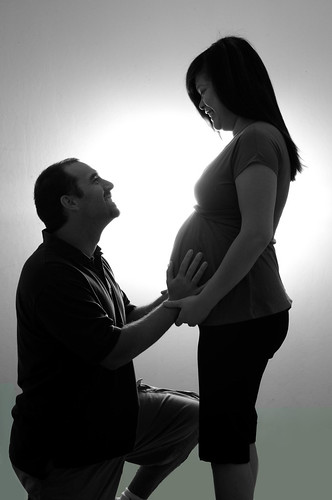
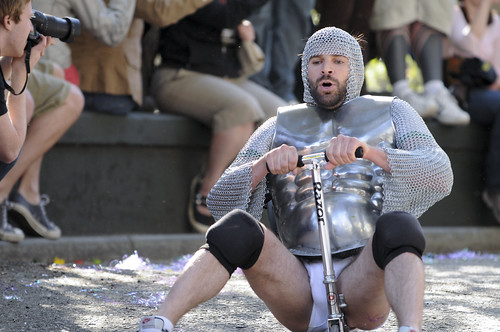
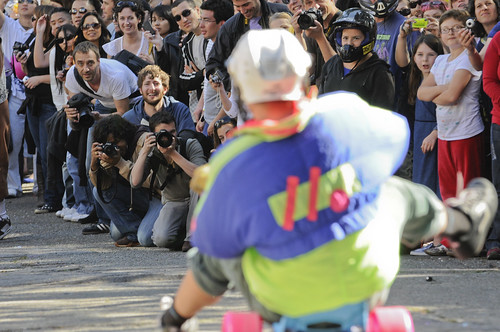
 52.5mm focal length, 1/320 sec, f/2, ISO 400, 10:27am.
Post-processing in Lightroom: Increased exposure and fill light, reduced color temperature.
I took many rapid fire bursts hoping that the middle shots in each sequence exhibited less blur, due to them not being affected by the movement of pressing and letting go of the shutter release. The only drawback was the loud sound made by the shutter and mirror moving with each shot. It may have bothered Jacob, although he never appeared to be irritated by it.
I also took advantage of the light streaming through the large window. My sister's bed was on the far side of the room, so very little sunlight reached her. But whenever someone held Jacob near the window, I had a lot more light to work with.
Lastly, I braced myself on whatever and whoever was near me. My brother's shoulder made a great platform to shoot from!
You can see all the photos from our happy day
here.
 I don't like shooting indoors with on-camera flash, because the light flattens faces and can cast some ugly shadows. The advantage of on-camera flash however, is that you are very mobile. But what if you take your flash off your camera, remotely control the firing of it from your camera, and aim it at the ceiling? Now you always have a diffuse source of light as long as you shoot in the room.
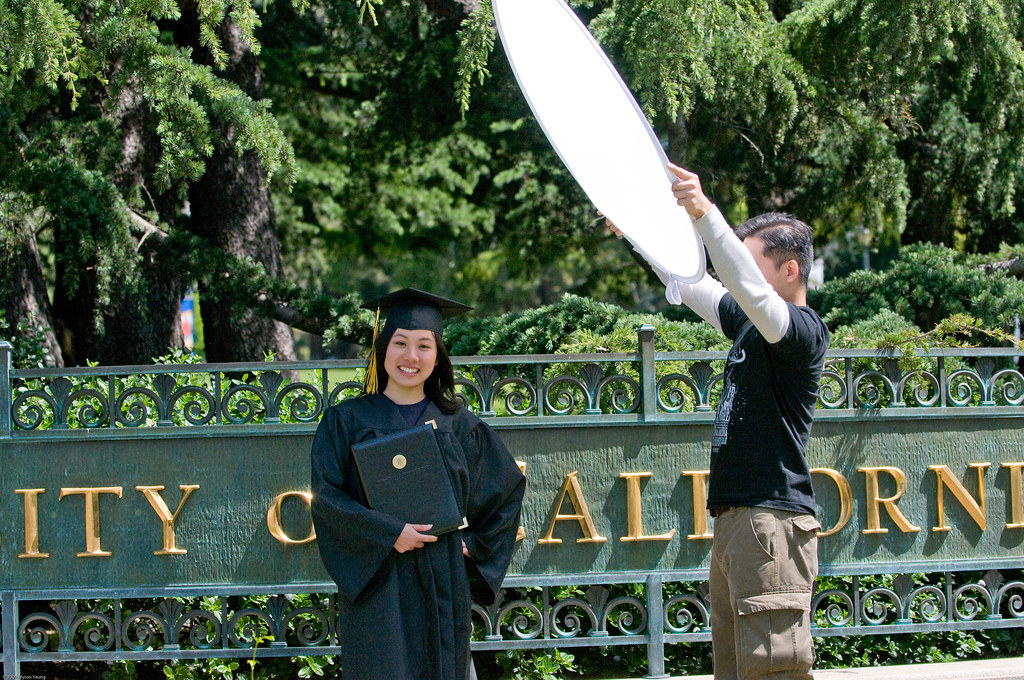
I employed this technique at my buddy Mark's son's Red Egg and Ginger Party. As you can see in the photo below, my setup was a lot simpler than the two-light strategy I employed last December. I got lucky this time, because the ceiling was very high, so the light from the flash was able to spread out before bouncing back towards the subjects.
I don't like shooting indoors with on-camera flash, because the light flattens faces and can cast some ugly shadows. The advantage of on-camera flash however, is that you are very mobile. But what if you take your flash off your camera, remotely control the firing of it from your camera, and aim it at the ceiling? Now you always have a diffuse source of light as long as you shoot in the room.
I employed this technique at my buddy Mark's son's Red Egg and Ginger Party. As you can see in the photo below, my setup was a lot simpler than the two-light strategy I employed last December. I got lucky this time, because the ceiling was very high, so the light from the flash was able to spread out before bouncing back towards the subjects.
 How did I do this?
1. I connected the flash to a mini tripod and placed them on a shelf at one end of the room.
2. I aimed the flash at the ceiling.
3. I connected the flash to a radio receiver.
4. I set the flash to manual mode and dialed the power to around 1/4.
5. I connected a radio transmitter to the hot shoe of the camera. Whenever I released the shutter, the transmitter told the flash to fire.
6. Started shooting! Because the flash was set to manual mode, it was easy to modify the power to ensure that my subjects were neither over nor underexposed.
There are a few things to be aware of:
1. Watch out for hot spots. The closer your subject is to the actual flash, the brighter and overblown they will turn out.
2. Avoid shooting subjects in darker areas of the room (unless you like the effect).
So do you need expensive fancy equipment to do this? Not really. If you have a flash with a built-in optical slave, you're ready to go. An optical slave detects when a flash is fired and in turn tells itself to fire. Use the built-in flash on your camera to trigger the remote flash. This all happens in mere milliseconds. You can also buy a small optical slave unit that connects to the hot shoe of your flash. Just be careful that your remote flash and your built-in flash don't overexpose your subjects.
If you have a relatively new camera and flash from the same manufacturer (e.g. Nikon or Canon), you can use their out-of-the-box remote flash trigger solutions.
Give it a try, it's liberating!
You can see the rest of the photos from the party here.
How did I do this?
1. I connected the flash to a mini tripod and placed them on a shelf at one end of the room.
2. I aimed the flash at the ceiling.
3. I connected the flash to a radio receiver.
4. I set the flash to manual mode and dialed the power to around 1/4.
5. I connected a radio transmitter to the hot shoe of the camera. Whenever I released the shutter, the transmitter told the flash to fire.
6. Started shooting! Because the flash was set to manual mode, it was easy to modify the power to ensure that my subjects were neither over nor underexposed.
There are a few things to be aware of:
1. Watch out for hot spots. The closer your subject is to the actual flash, the brighter and overblown they will turn out.
2. Avoid shooting subjects in darker areas of the room (unless you like the effect).
So do you need expensive fancy equipment to do this? Not really. If you have a flash with a built-in optical slave, you're ready to go. An optical slave detects when a flash is fired and in turn tells itself to fire. Use the built-in flash on your camera to trigger the remote flash. This all happens in mere milliseconds. You can also buy a small optical slave unit that connects to the hot shoe of your flash. Just be careful that your remote flash and your built-in flash don't overexpose your subjects.
If you have a relatively new camera and flash from the same manufacturer (e.g. Nikon or Canon), you can use their out-of-the-box remote flash trigger solutions.
Give it a try, it's liberating!
You can see the rest of the photos from the party here.