Sometimes I like to tweak the exposure of small portions of a photo, e.g. darken highlighted areas or bring out details in the shadows. There are many methods of doing this in Photoshop (and other programs), but I currently only know of two:
1. Joey L's method of working with two layers in Photoshop.
2. Photoshop's dodge and burn tool.
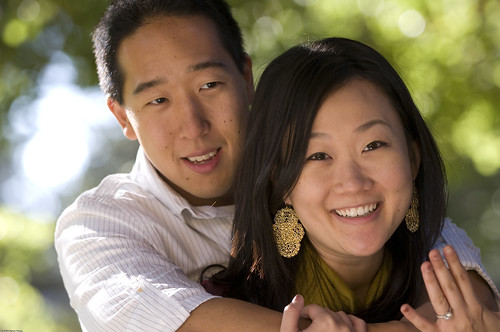
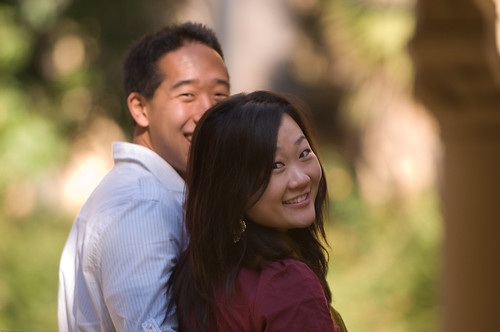
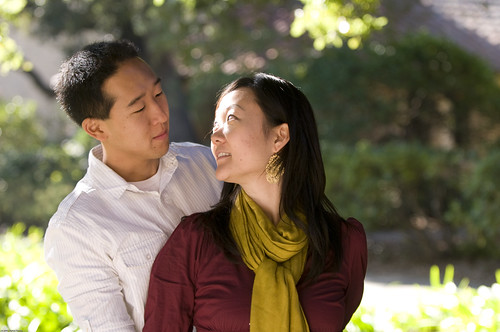
On the left, Gene was overexposed. I used Joey L's method and created two layers in Photoshop. In the first layer, Gene was properly exposed (but Herie was underexposed). The second layer was the exact opposite, Herie was properly exposed, while Gene was overexposed. I then removed Gene's face from the second layer, so that his correctly exposed face showed through. For more details, read
this.
In this example, I dodged his hair, and the hair above her forehead. I burned the camera-left side of his face (note splotchiness, my bad!), his neck, and parts of her hair.
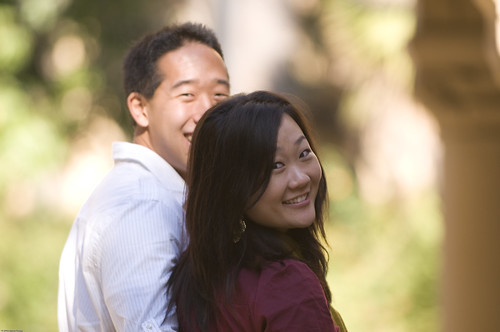
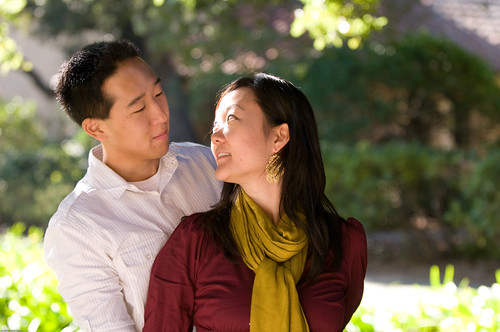
If you're viewing this on a browser other than Safari, you might notice that the photos on the right look more warm. This is a color space issue. The photos on the left were saved in the ProPhoto RGB color space, while the ones on the right were saved in Adobe RGB. Check out this
post for more details.
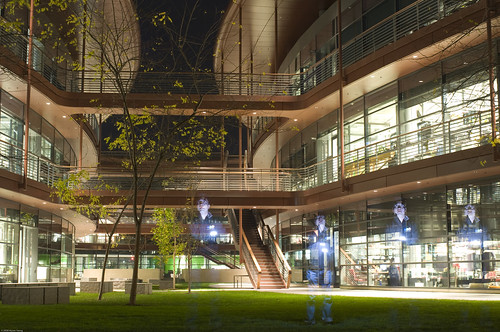 One of the things my buddy Brian and I like to do is clone ourselves at night using long exposure times and handheld flashes.
 Neither photos were multiple exposures, nor were they created by combining several photos during post-processing. The first shot was by standing and firing off the flash at myself (by pressing the test button) in four different spots along the walkway. The second shot was created in a similar fashion, except I augmented his handheld flash with my flash. You can my flashes all around his knees. Because I was constantly moving, you can't really see me in the photo.
To read more about this technique, go here.
Neither photos were multiple exposures, nor were they created by combining several photos during post-processing. The first shot was by standing and firing off the flash at myself (by pressing the test button) in four different spots along the walkway. The second shot was created in a similar fashion, except I augmented his handheld flash with my flash. You can my flashes all around his knees. Because I was constantly moving, you can't really see me in the photo.
To read more about this technique, go here.