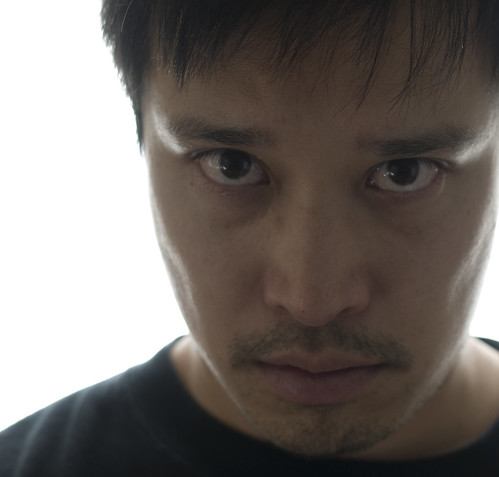
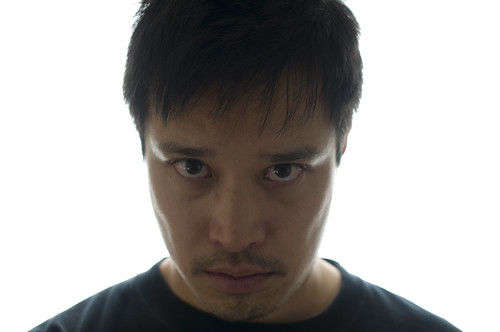
 I'm a rabid fan of Star Trek. I'm also a big fan of J.J. Abrams, so naturally I'm very excited about the Star Trek movie coming out next May. My buddy Swarup showed me a creepy picture of the new Captain Kirk (played by Chris Pine). I liked it so much, that I wanted to imitate it. In the same spirit as my faking Platon post, I offer for your reading pleasure, my step by step guide to faking creepy Captain Kirk.
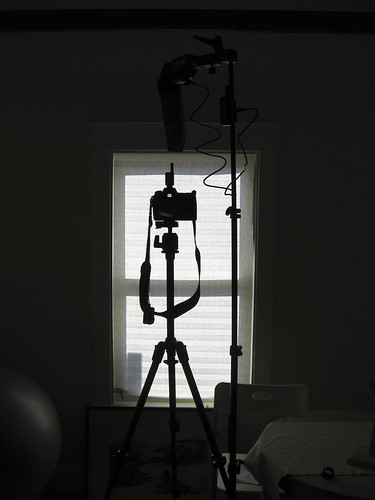
Shot of my setup. Imagine that I'm standing in front of the window facing out towards the camera.
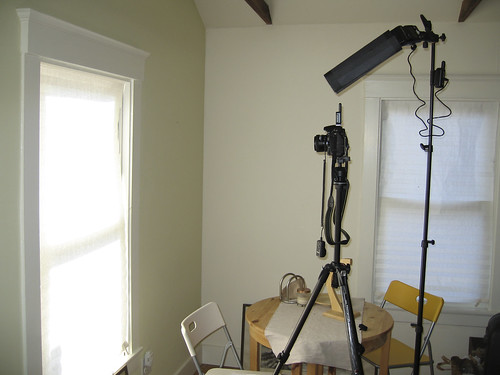
Imagine that I'm standing on the left, next to the window.
View from in front of the camera.
Step 1: Figure out where to place my head.
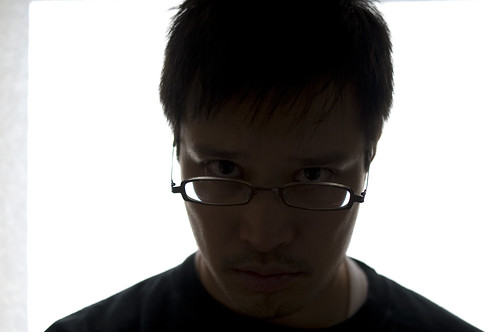
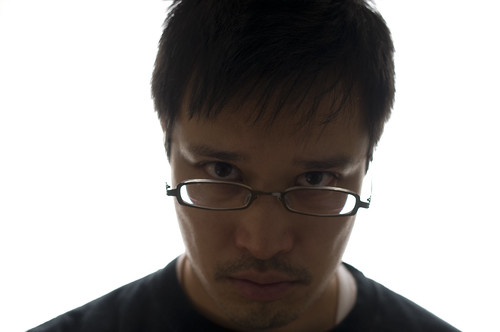
Step 2: Capture what I want of the ambient lighting. I overexposed the window so that the curtain lines disappeared into a solid mass of white light.
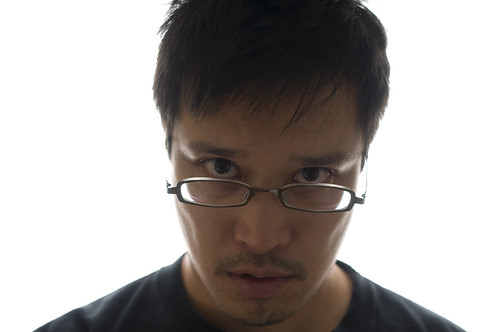
Step 2: Increase the exposure some more so that more of the ambient light wraps around my temples, cheeks, and neck.
Step 2: Increase the exposure a little more to bring out my face.
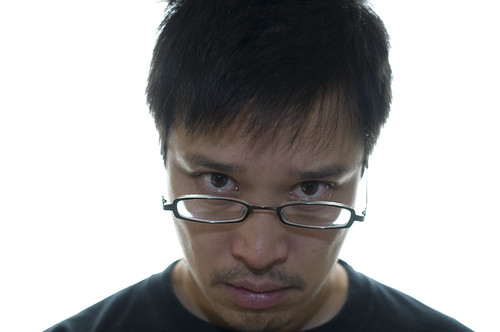
Step 3: Add the flash and play with it. Flash is set to around 1/32 power. This is far too much power. I use a snoot to restrict the artificial light to just the middle of my face. I don't want the flash to contaminate the cool wraparound lighting provided by the window.
Step 3: Add the flash and play with it. Dial down the power to 1/128.
Step 3: Add the flash and play with it. Reduce the output of the flash further by pulling down its built-in wide flash adapter. The snoot restricts the light coming out of the flash, so using the adapter only eats up the flash output.
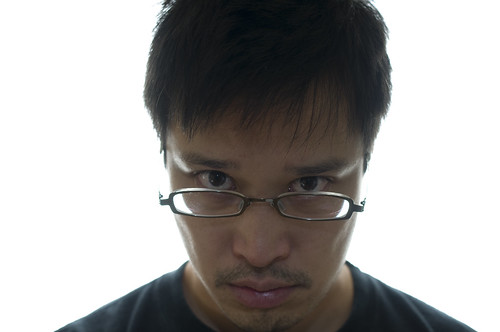
The flash doesn't fire and voila! This is my favorite shot. Sometimes a flash isn't necessary!
To create the final image, I opened the photo above in Lightroom and cropped it. I then reduced the vibrance by 20%. That's it!
It's ironic that I set up the fancy flash on a fancy stand, yet the photo I liked best was the one lit exclusively by the sun. :-) What's also cool is how quickly I shot off thirty photos. It took less than half an hour and most of that time was spent acting silly for the camera.
This was really enjoyable and as always, I learned a few things:
1. If you see a cool photo, try imitating it. It's fun and you'll always learn something new.
2. Be flexible and take advantage of what you've got. When I started planning for this shot, I envisioned using both my flashes and some DIY reflectors to help shape the light. The complexity was off-putting, so I was reluctant to try it out. Luckily I noticed the beautiful diffused light streaming through my window and threw away my original plans!





1 comment:
I feel like it would be interesting if you juxtaposed all your images together into one because of the different lighting. Maybe like a mosaic. Over and over.
Post a Comment