 Setup:
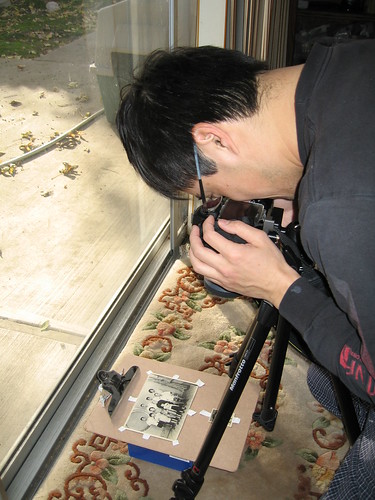
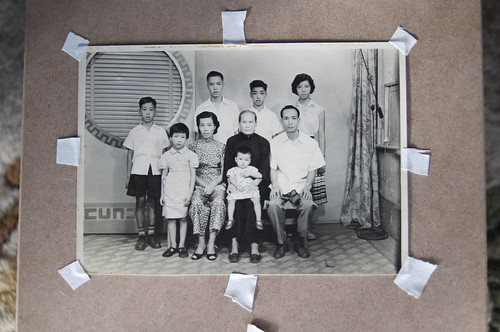
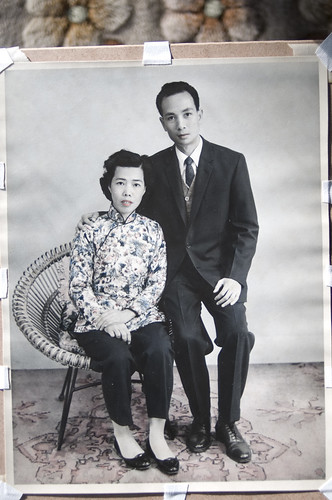
My friend Jeanna asked me to help her digitize some very old family photos for a digital slideshow. It sounded like great fun, so I gave it a shot. My brother tried to scan the photos, but because they were matted, the scanner produced photos with ugly grid marks.
Here's what I learned:
1. Handle photos with care, they are precious.
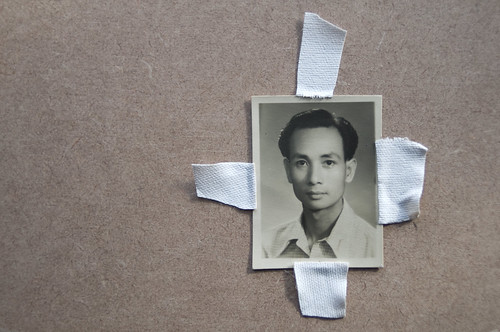
2. Use tape that doesn't leave a sticky residue, e.g. gaffer tape. Immediately remove tape after you're done shooting.
3. Shoot with a big diffuse light source. You want to avoid shiny spots (specular highlights).
4. Decrease the exposure to reduce the appearance of dust. Unless you have access to a lab room, there will always be dust on the photos.
5. Make sure the plane of the photo is parallel to the plane of the camera sensor/film. Simply speaking, make sure that the center of the lens is over the center of the photo and don't let one side of the photo tip farther away from the lens relative to the other side.
6. It's okay to capture some of the tape or even the surface under the photo, because you can crop it out or remove it during post-processing.
In my setup shot, you can see that I am very close to the soft light coming through the window. Also note how the sensor film of my camera is not parallel to the plane of the old photograph. See how it messed up the top photo. Tsk tsk!
We all have old family photos we want to preserve digitally. If scanning is not an option, then try taking photos of the photos!


No comments:
Post a Comment